API Keys
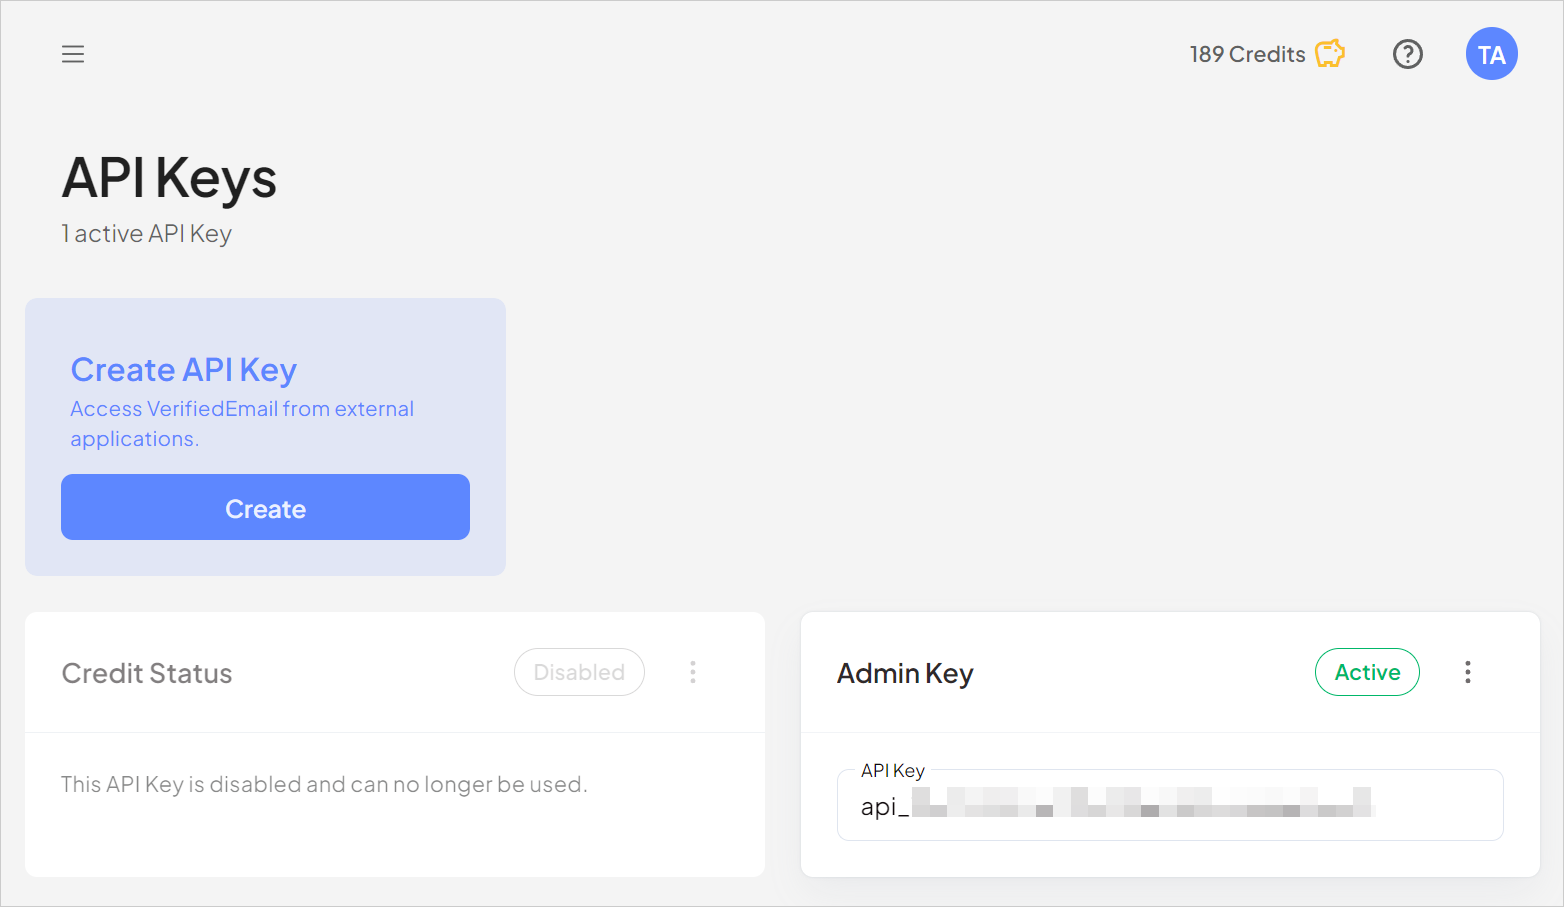
On the API Keys page, you can create and manage API keys for use with VerifiedEmail’s API.

You can create as many or as few API keys as needed. You can customize the access allowed for each by explicitly permitting or blocking the key’s access to each API function.
Creating an API Key
To create an API key, click Create.

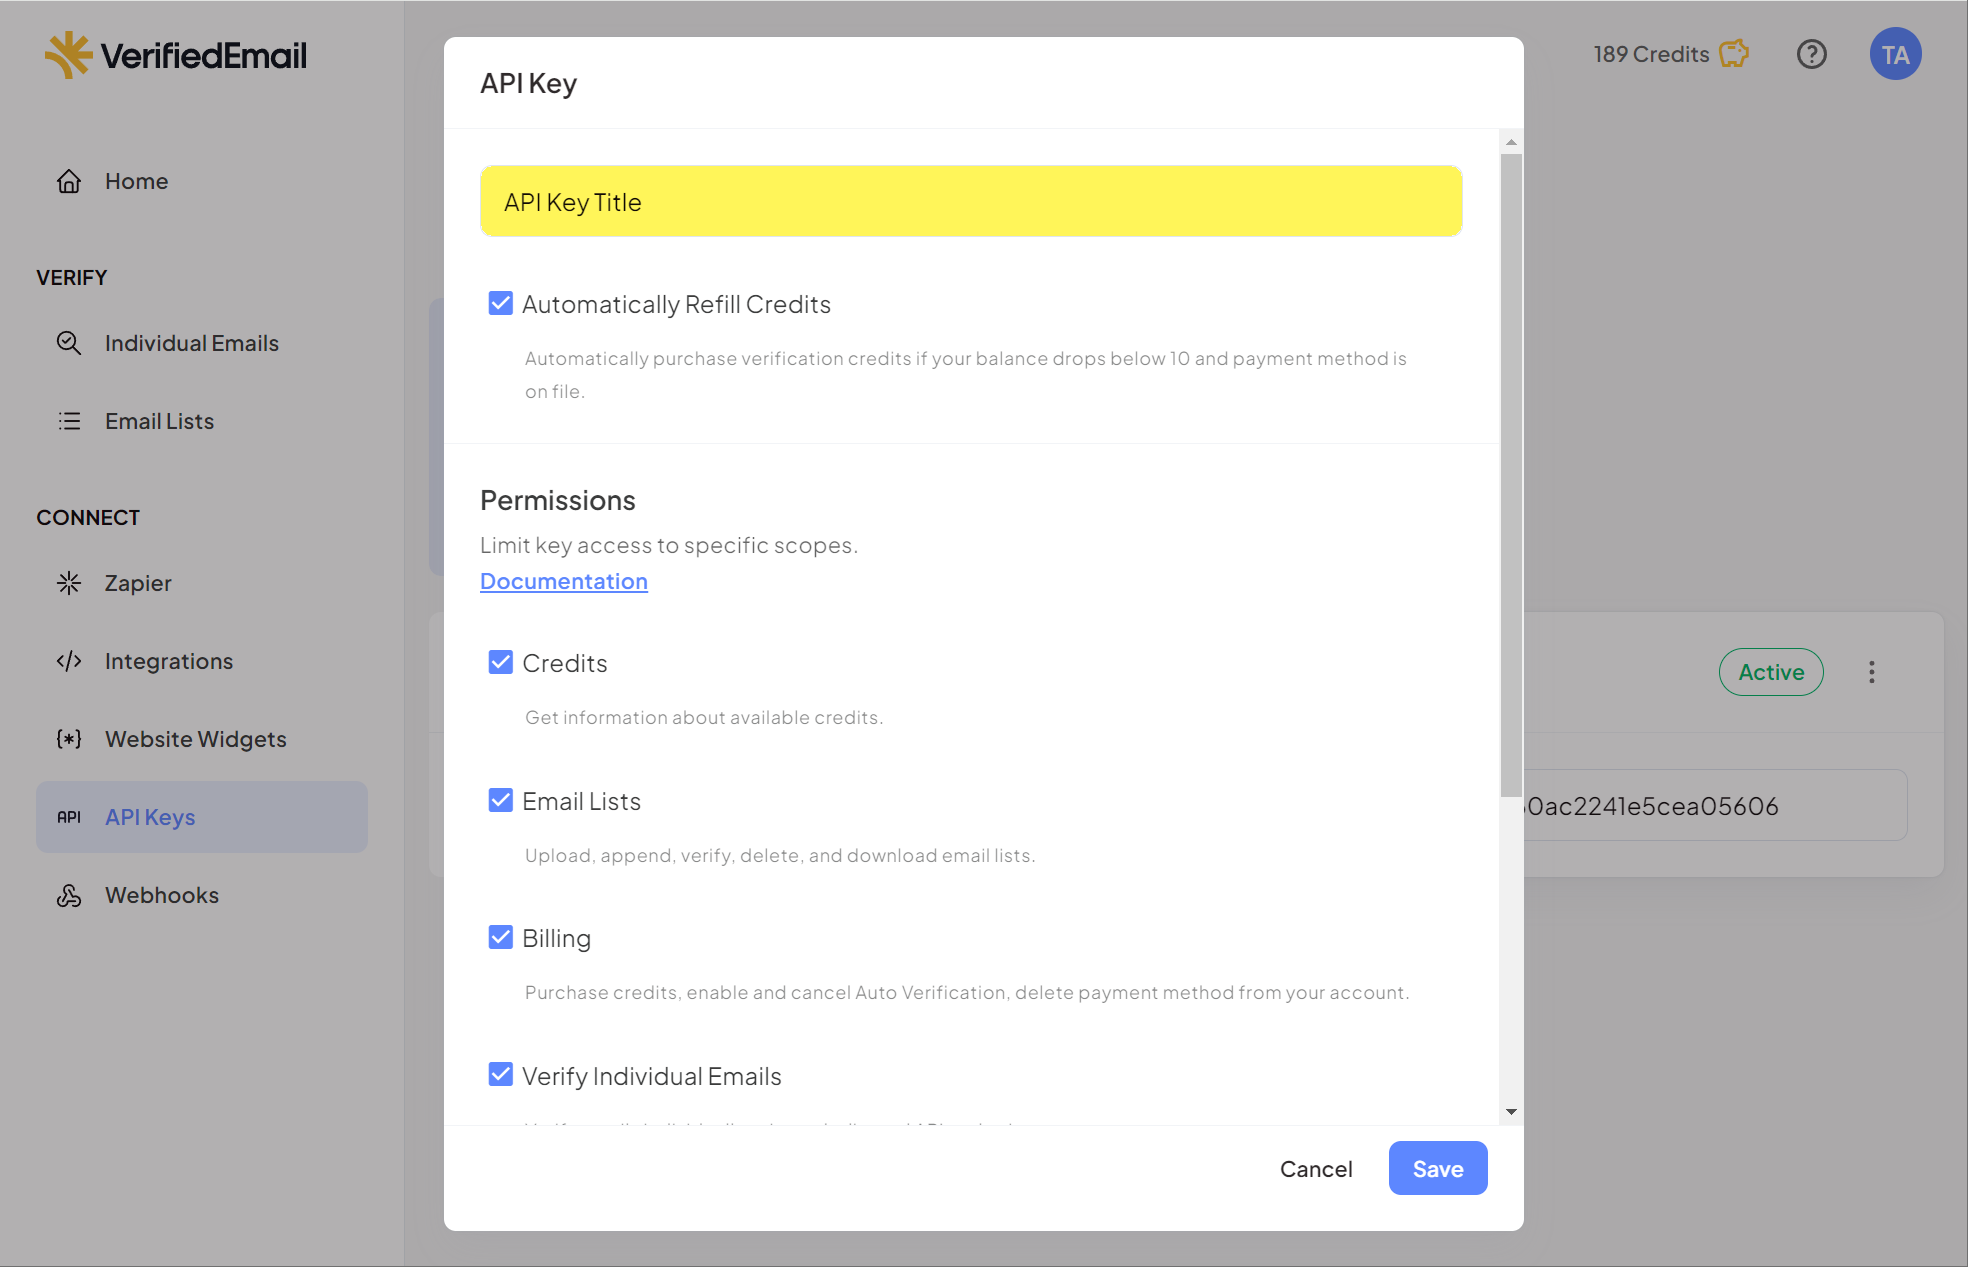
In the API Key dialog, enter a name for the API key in the API Key Title field.

Next, select or clear the Automatically Refill Credits checkbox.
- When this checkbox is selected, API actions that would cause your balance to drop below ten available credits will automatically trigger the purchase of sufficient credits to complete the action, using your saved payment method. In the previous illustration, the checkbox is selected.
- If this checkbox is cleared/not selected–or if your VerifiedEmail account does not have a saved payment method, API actions that would cause your available credit balance to drop below ten will not be completed due to insufficient credits.
- For more information about purchasing credits and saving a payment method, please see Credits and Packages.
In the Permissions section of the dialog, select the checkbox next to each API function that will be allowed when the request is made using the new API key you are creating.
For example, if you need to create an API key that will be used exclusively to create, list, modify, and disable webhooks, you could clear all checkboxes except the Webhooks checkbox. In the previous illustration, all permissions’ checkboxes are selected/allowed.
Click Save to save the new API key.

The new key appears on the API Keys page.

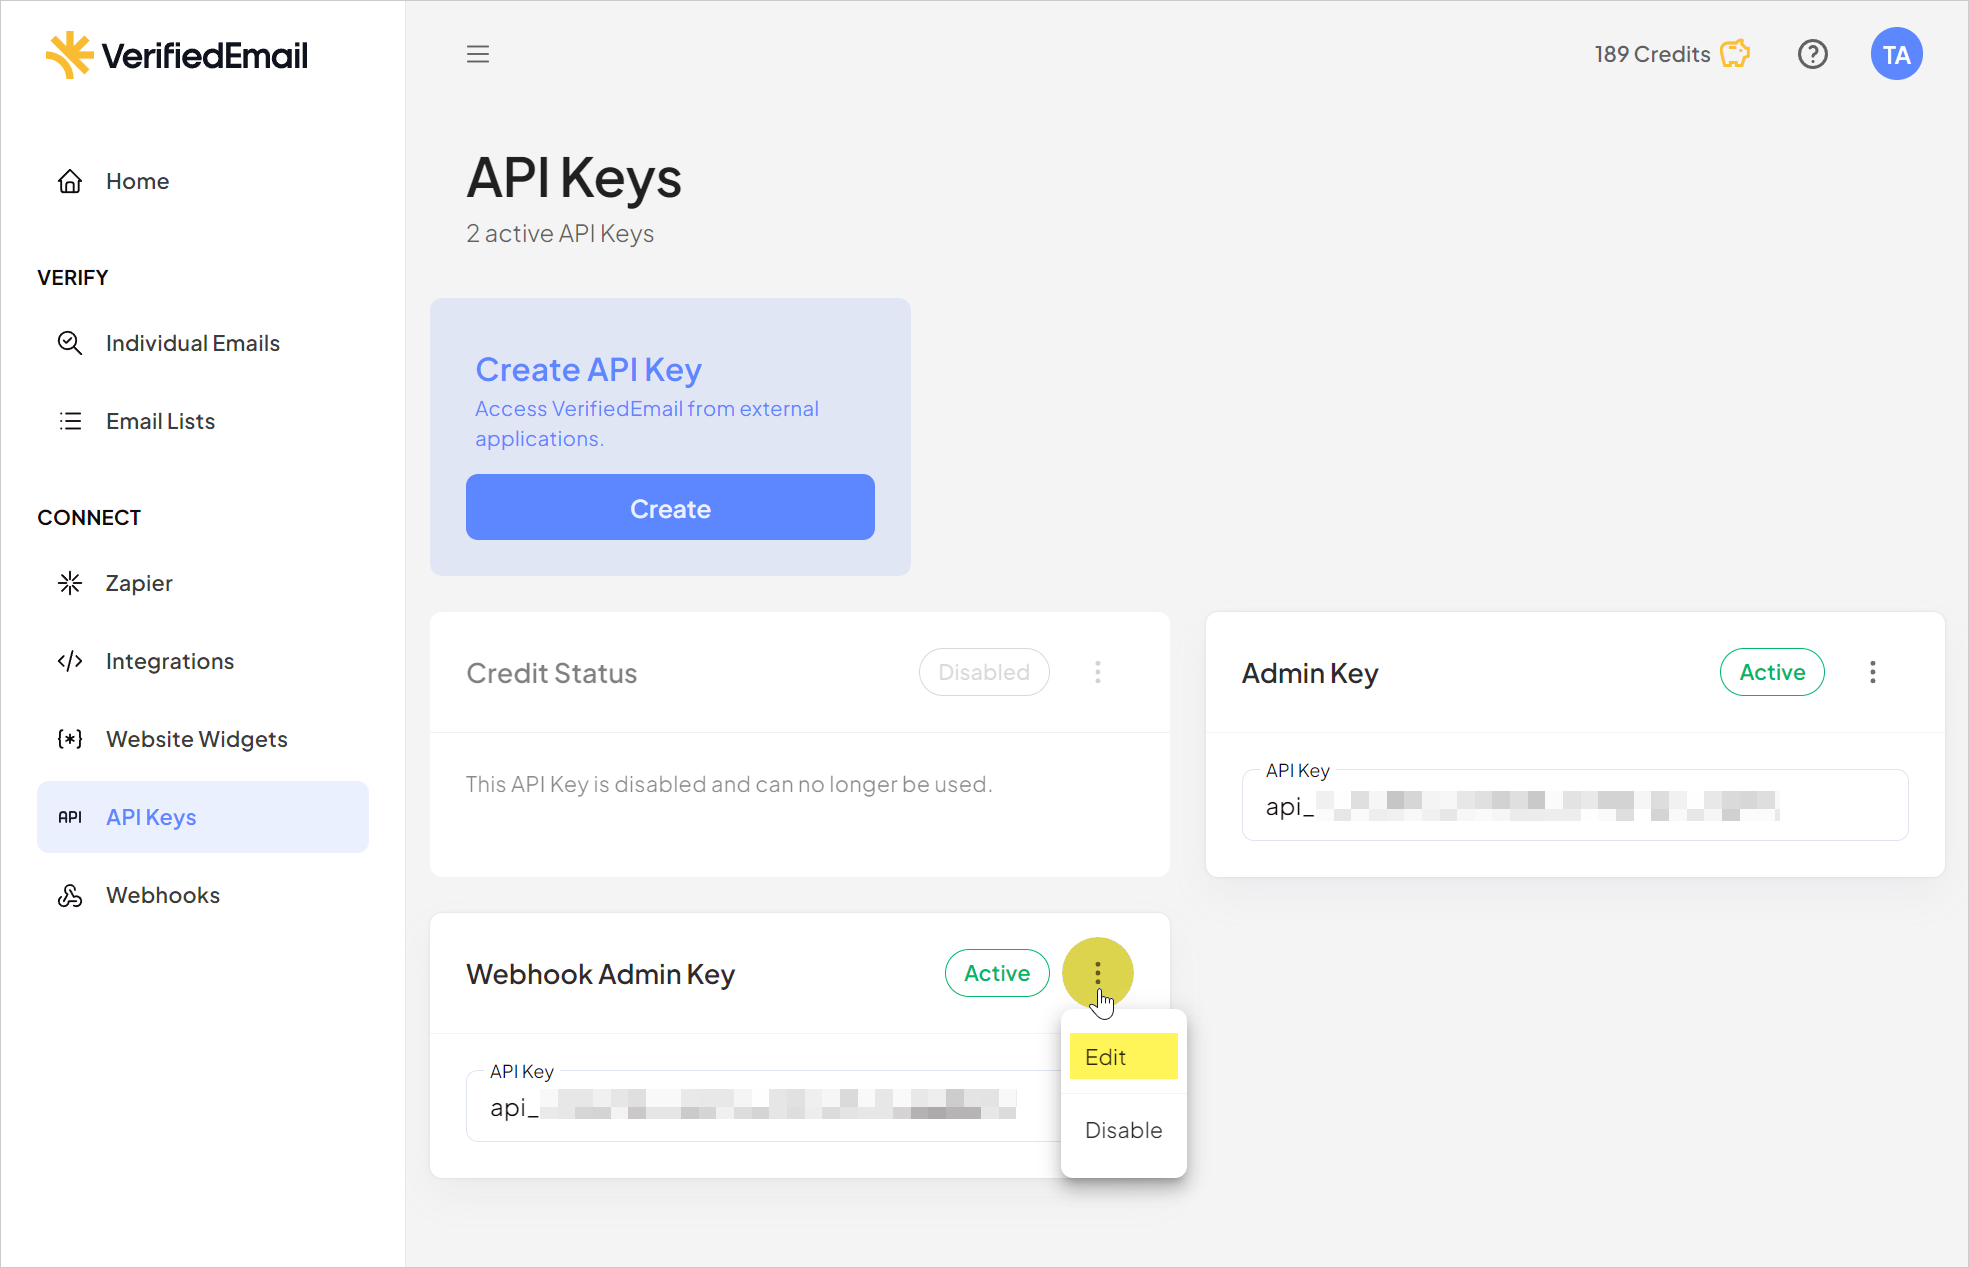
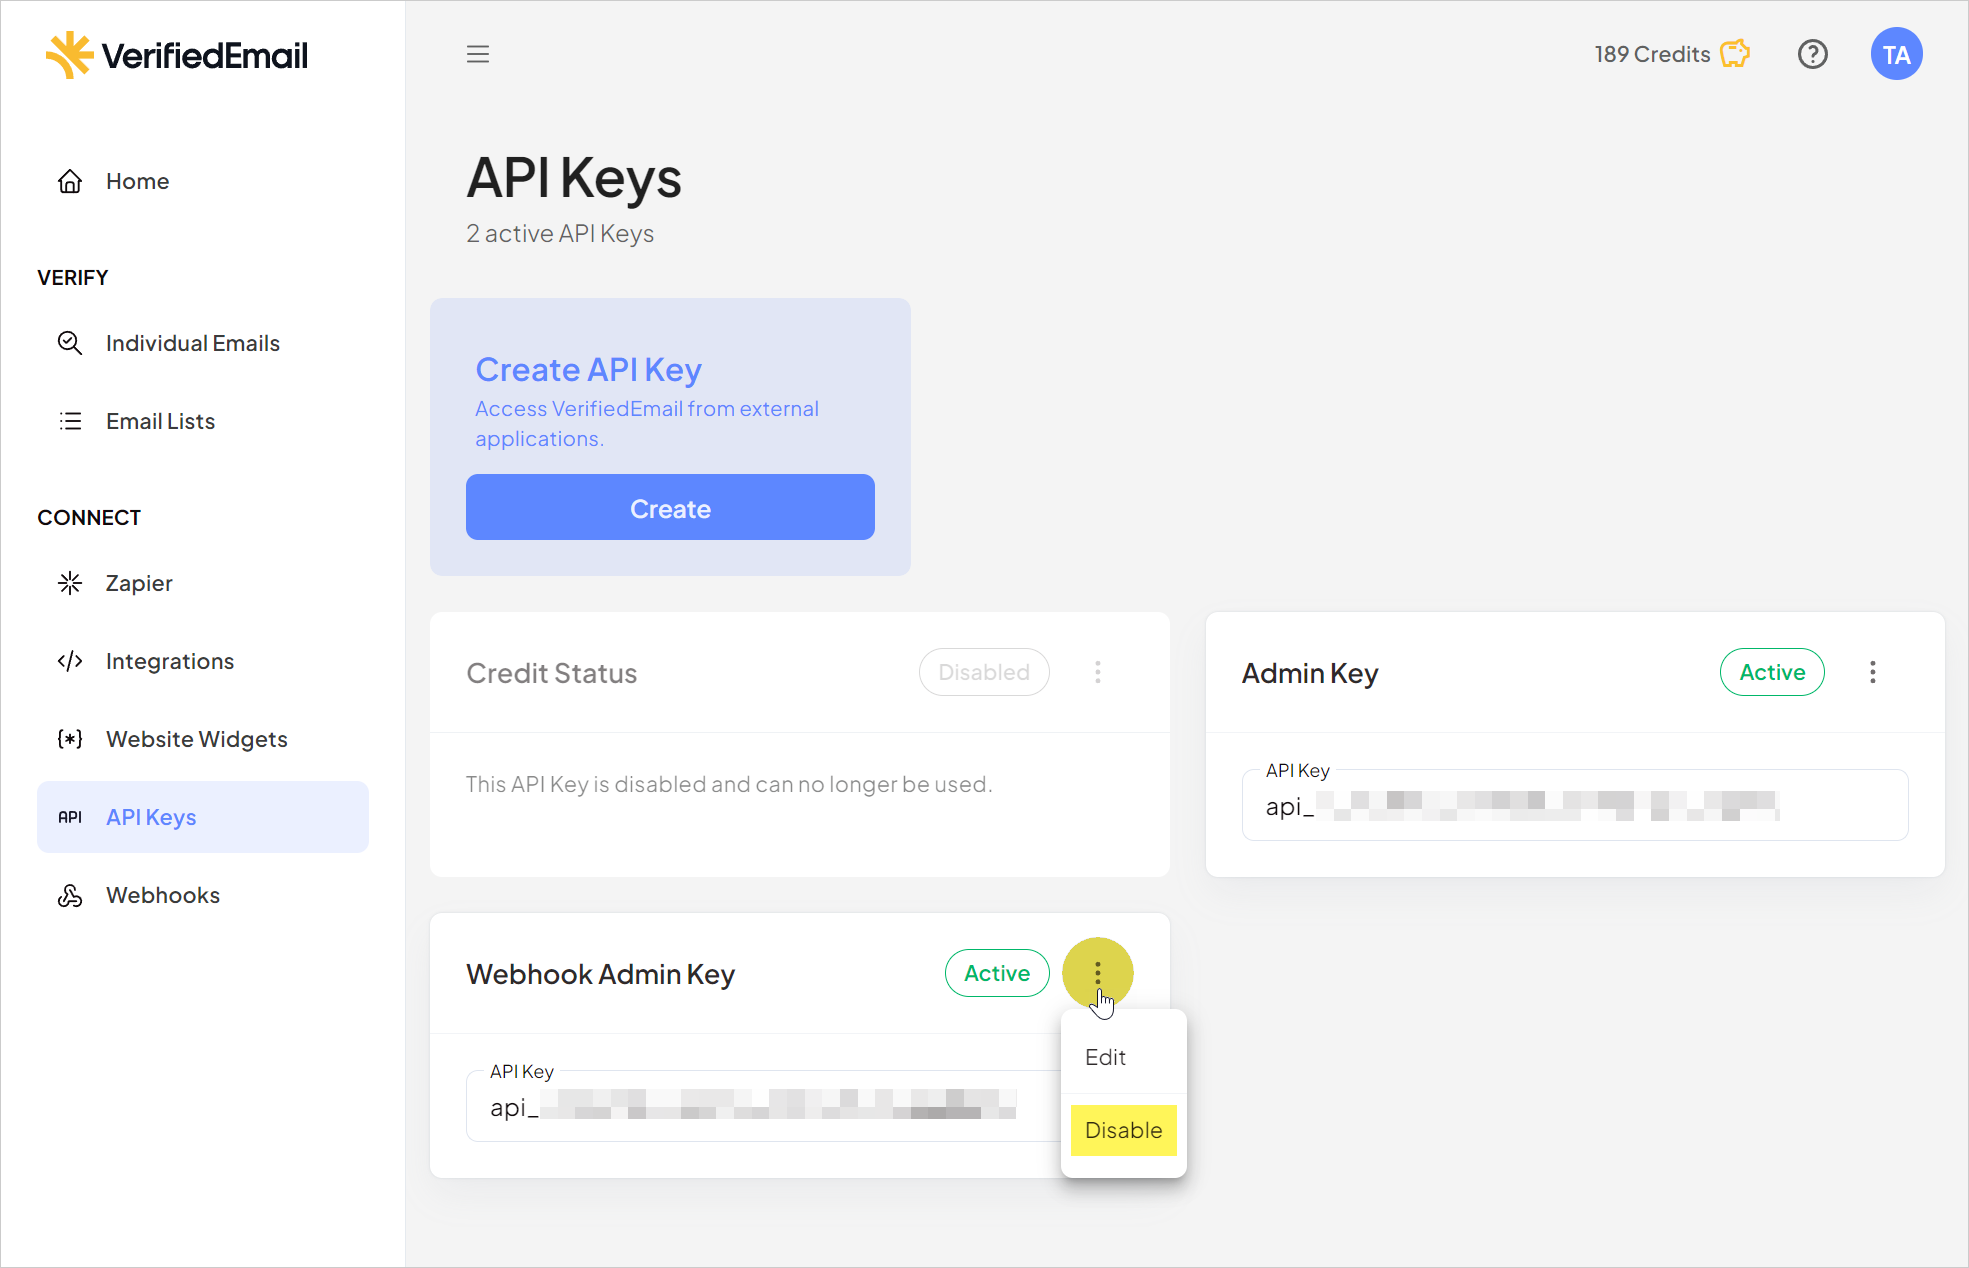
Copy the value shown in the API Key field of the new card and store it securely. This is the key you will pass when making API requests to VerifiedEmail. To make changes to an API key, including changing the Automatically Refill Credits setting, changing the key’s permissions, or renaming the key, click the triple dot button at the upper right-hand corner of the card for the key you want to modify. The API Key dialog appears. Make changes to the settings as needed and click Save. If you disable an API key, VerifiedEmail will no longer accept API requests that include that key for authentication. The API response will indicate that the key is not valid. To disable an API key, click the triple dot button at the upper right-hand corner of the API key’s card and select Disable. The Disable <key name>? dialog appears. Click Confirm to confirm that you want to disable the key. Modifying an API Key


Disabling an API Key


