Account Settings
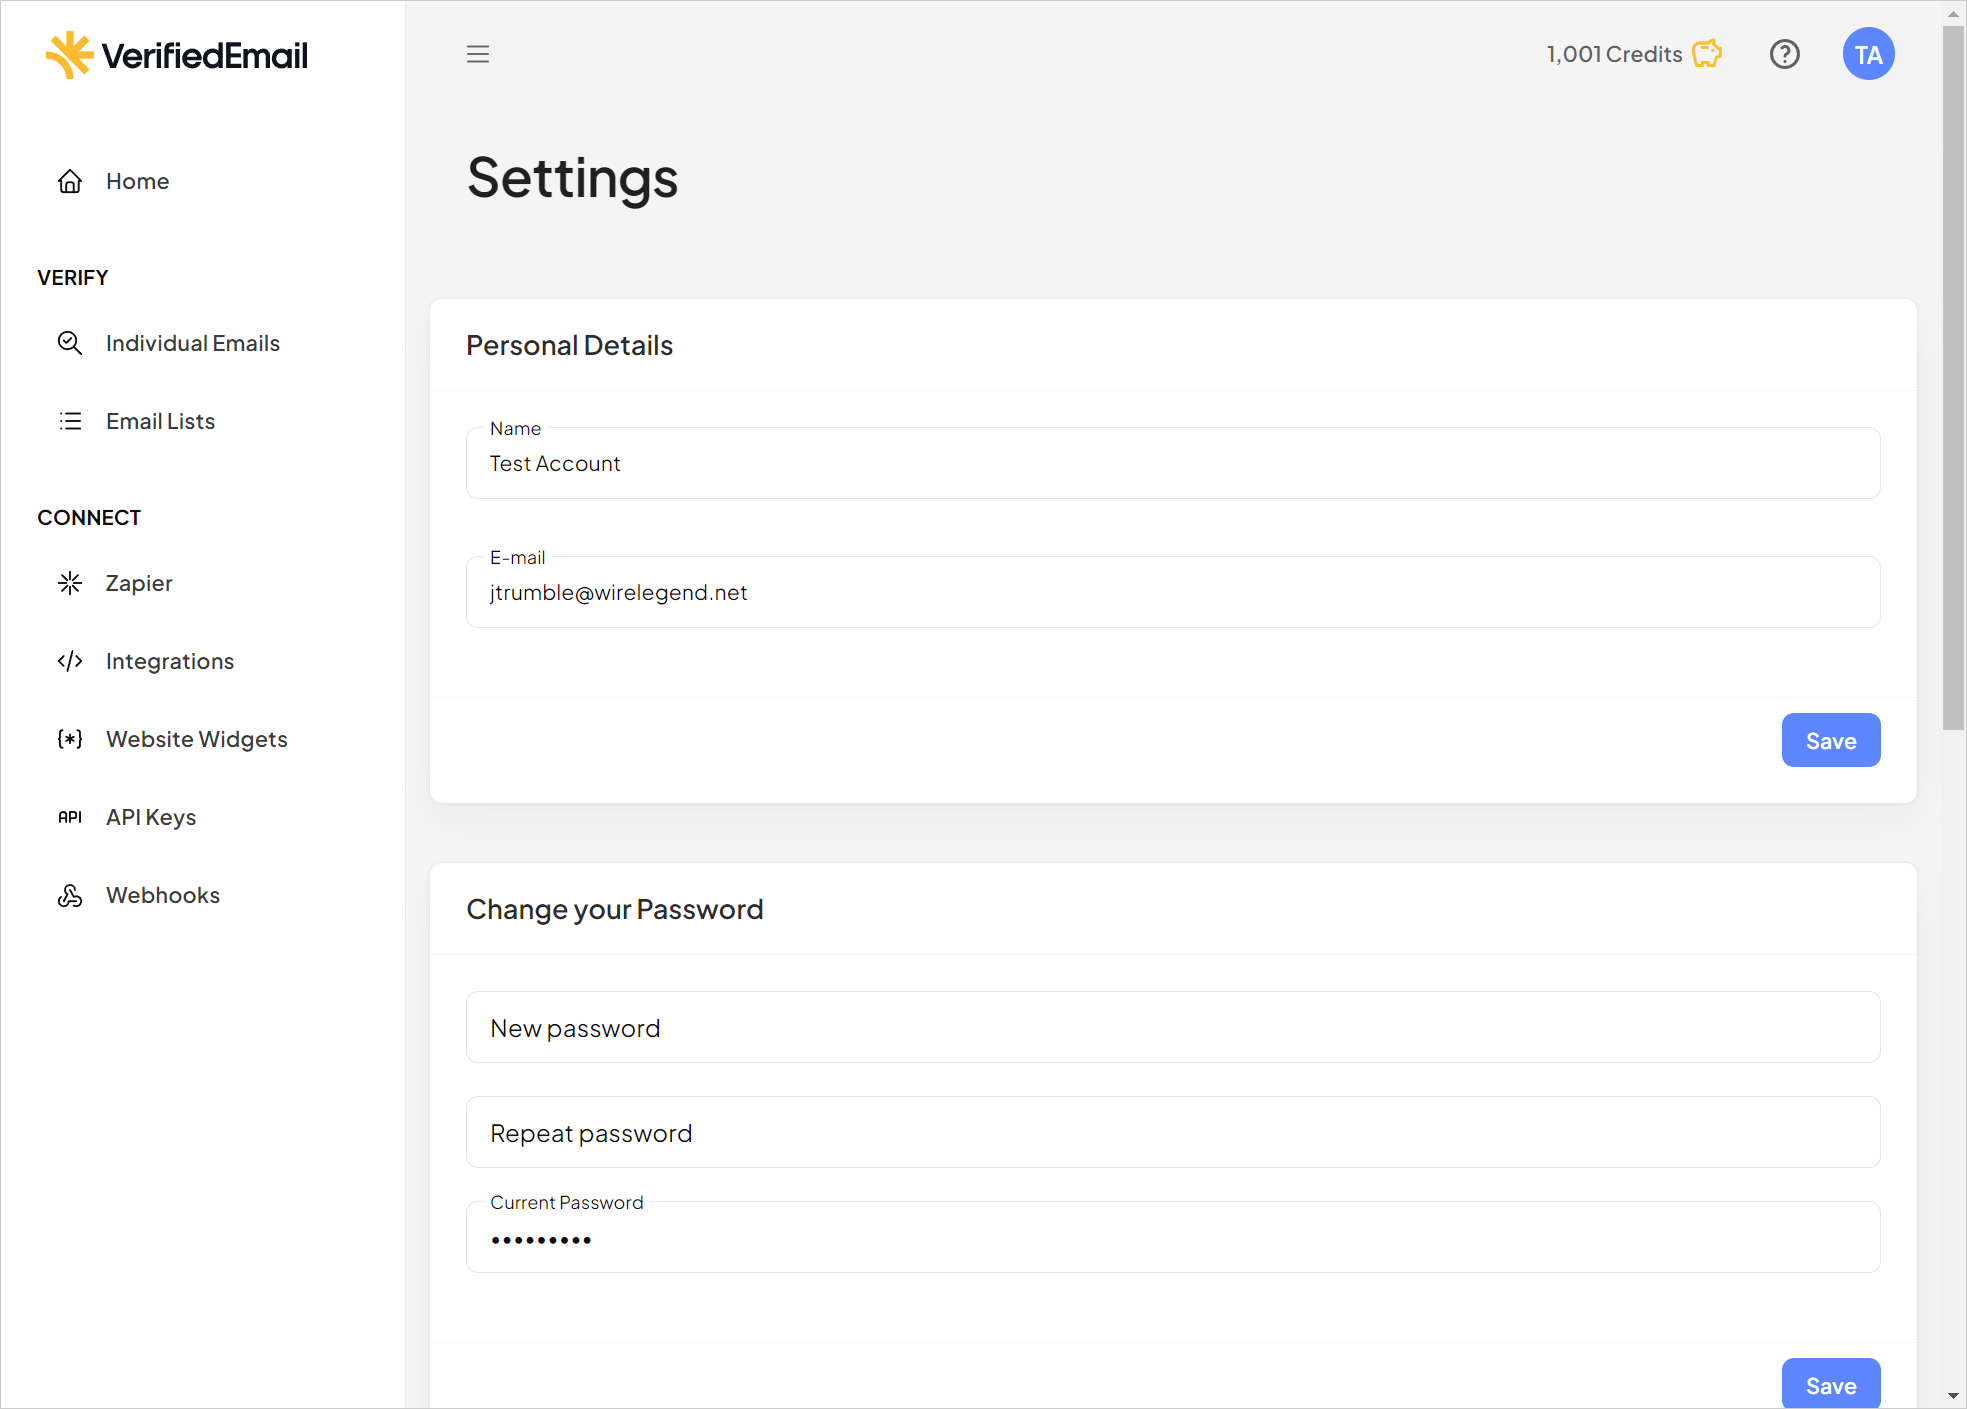
To access your VerifiedEmail account settings, click your initials at the top right-hand corner of any page.

In the menu that appears, click Settings.

The Settings page opens.

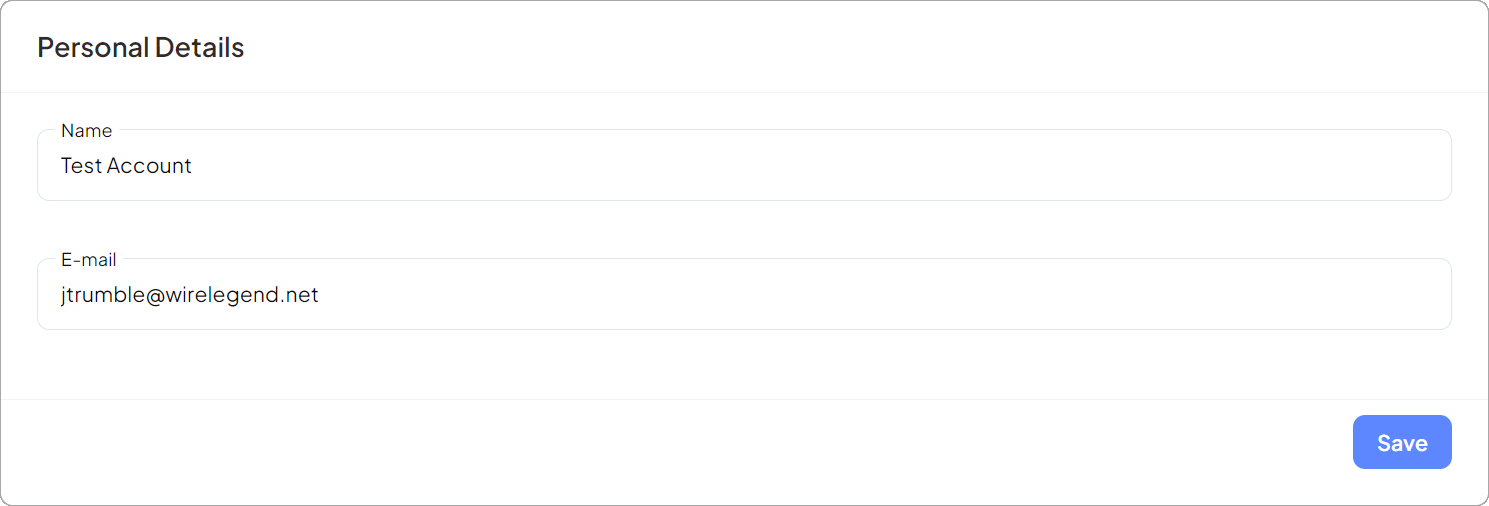
In the Personal Details section, you can change the name and email address associated with your account. Click Save after making any changes.
If you change the email address, VerifiedEmail sends a confirmation email message to the new address. You must click a link in the email message to confirm ownership of the new address and complete the change.

The Change Your Password section lets you change your VerifiedEmail login password. To do so, enter the new password in the provided fields, and then click Save.

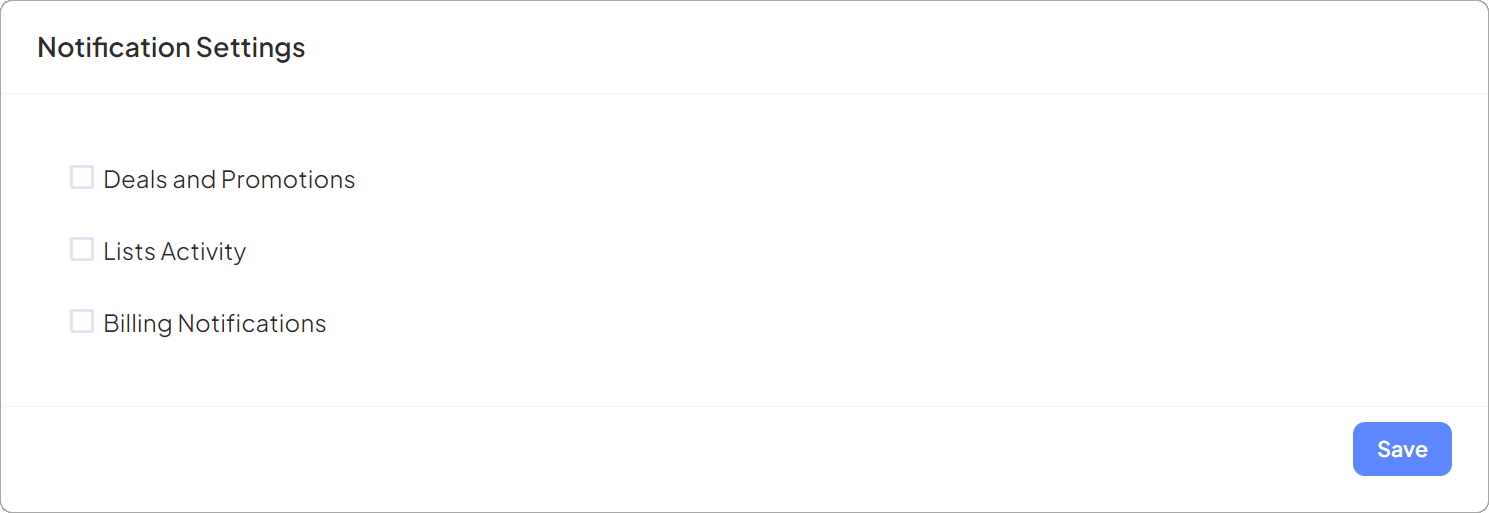
Using the Notification Settings section, you can opt in to receive notifications from VerifiedEmail about deals and promotions, activity on your email lists, and charges to your saved payment method for the purchase of credits. Select the checkbox to each type of notification you want to receive, and then click Save to save your changes. In the following illustration, all three checkboxes are cleared/not selected.

When you make changes to the account settings, a confirmation message appears at the top of the page.


