Verifying a List of Email Addresses
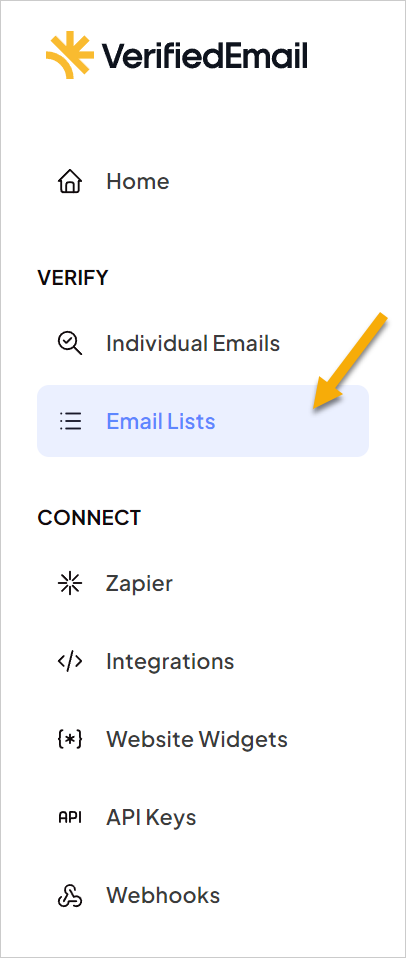
To verify a list of email addresses, click Email Lists in the left-hand navigation menu.
The Email Lists page provides access to the lists of addresses you have supplied to VerifiedEmail.
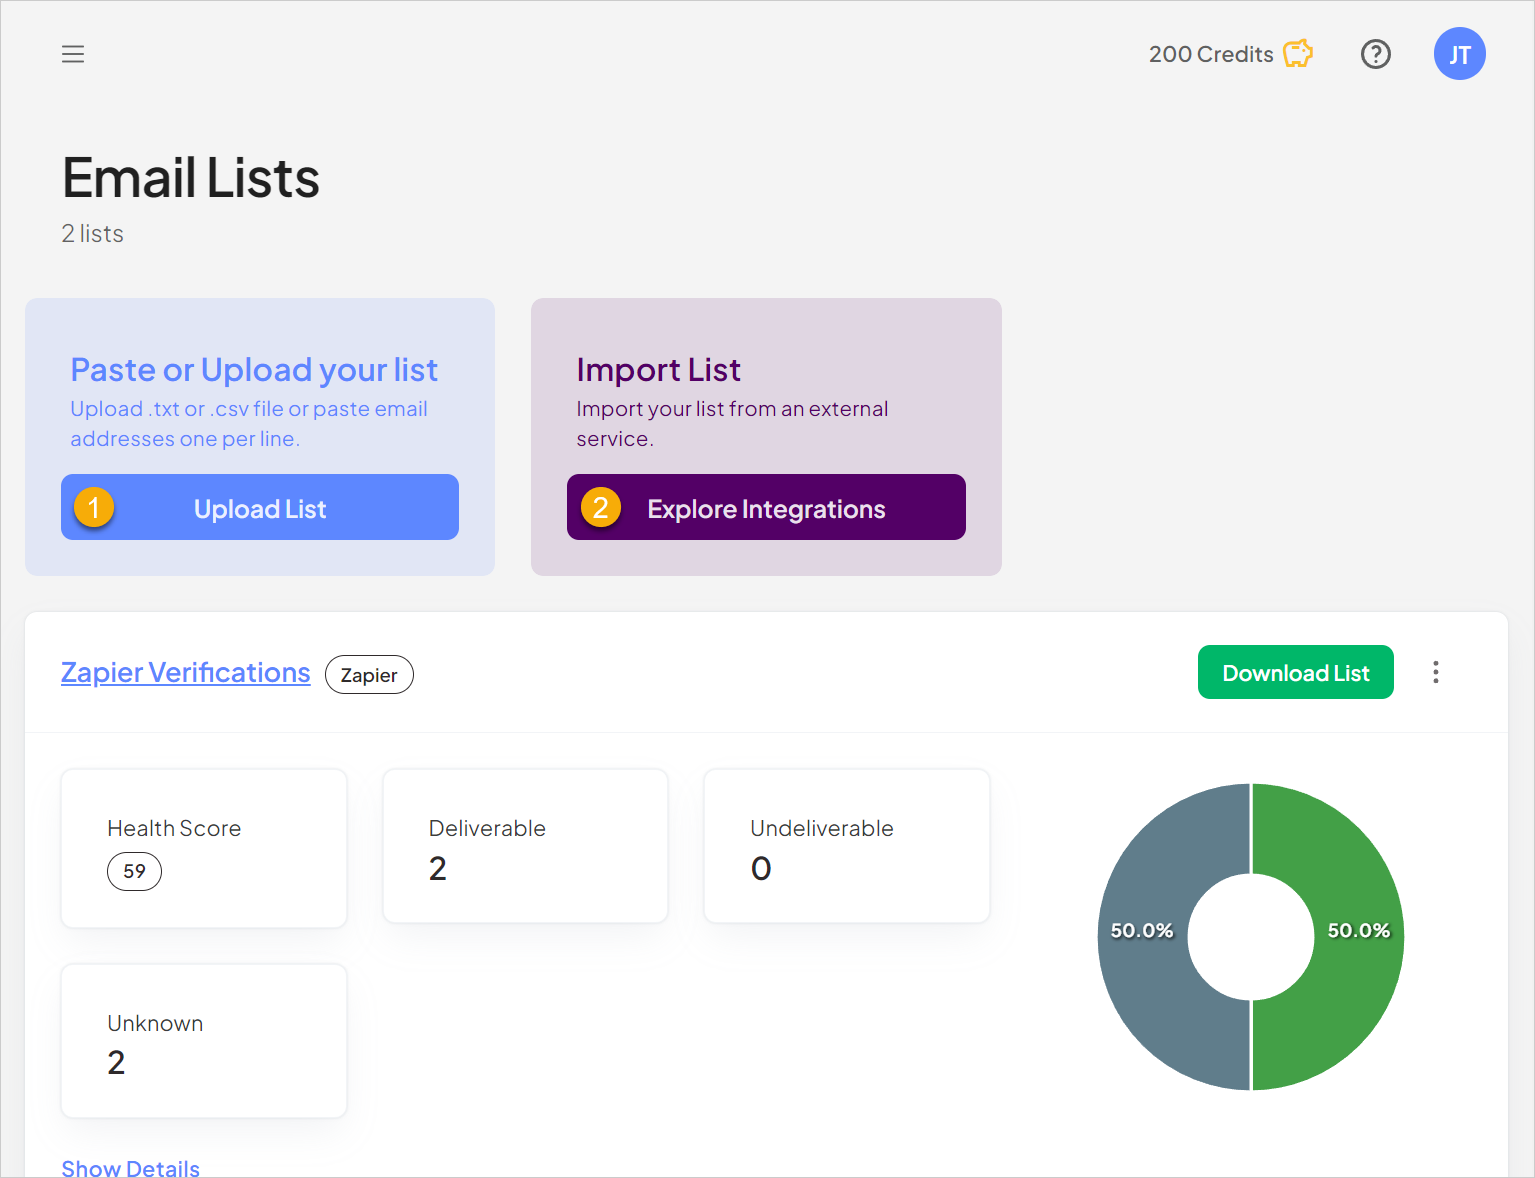
Email lists can be created in VerifiedEmail via several different methods:
- Individual email address verifications are automatically added to the Individual Email Verifications list.
- You can upload a list of addresses as a .txt file or a .csv file
- You can paste a list of addresses into VerifiedEmail, one address per line
- You can import a list of addresses from a third-party integration (e.g., HubSpot or Klaviyo).
- Each widget creates a dedicated list, and VerifiedEmail adds addresses from the widget to the widget’s list automatically.
- Zapier integration creates a Zapier Verifications list and addresses from that integration are automatically added to the list.
You can download the email addresses from a list and re-verify them if needed.
Uploading a List of Email Addresses
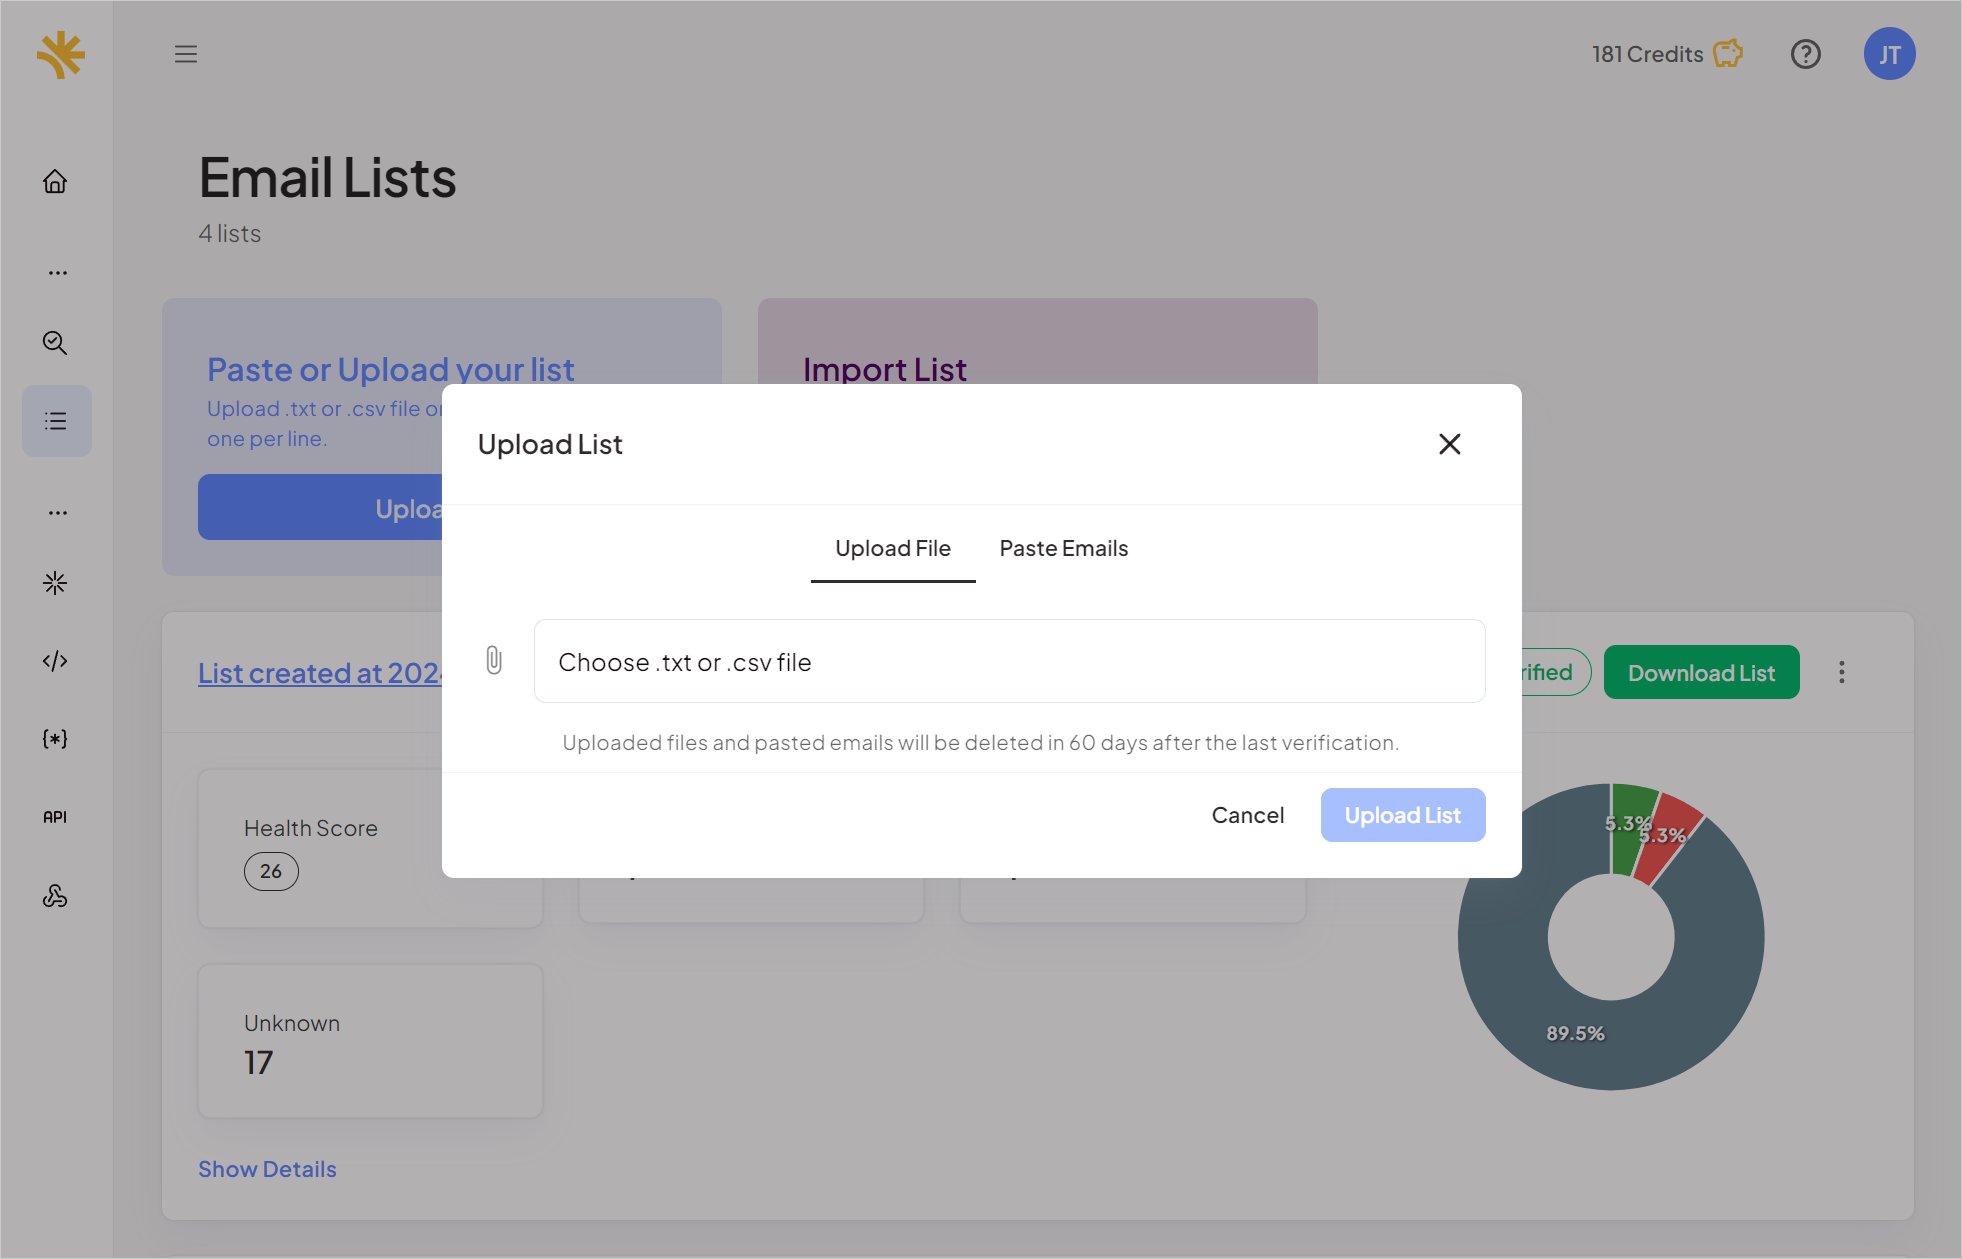
- To upload a file containing a list of email addresses for verification, click Upload List.
- Click Choose .txt or .csv file.
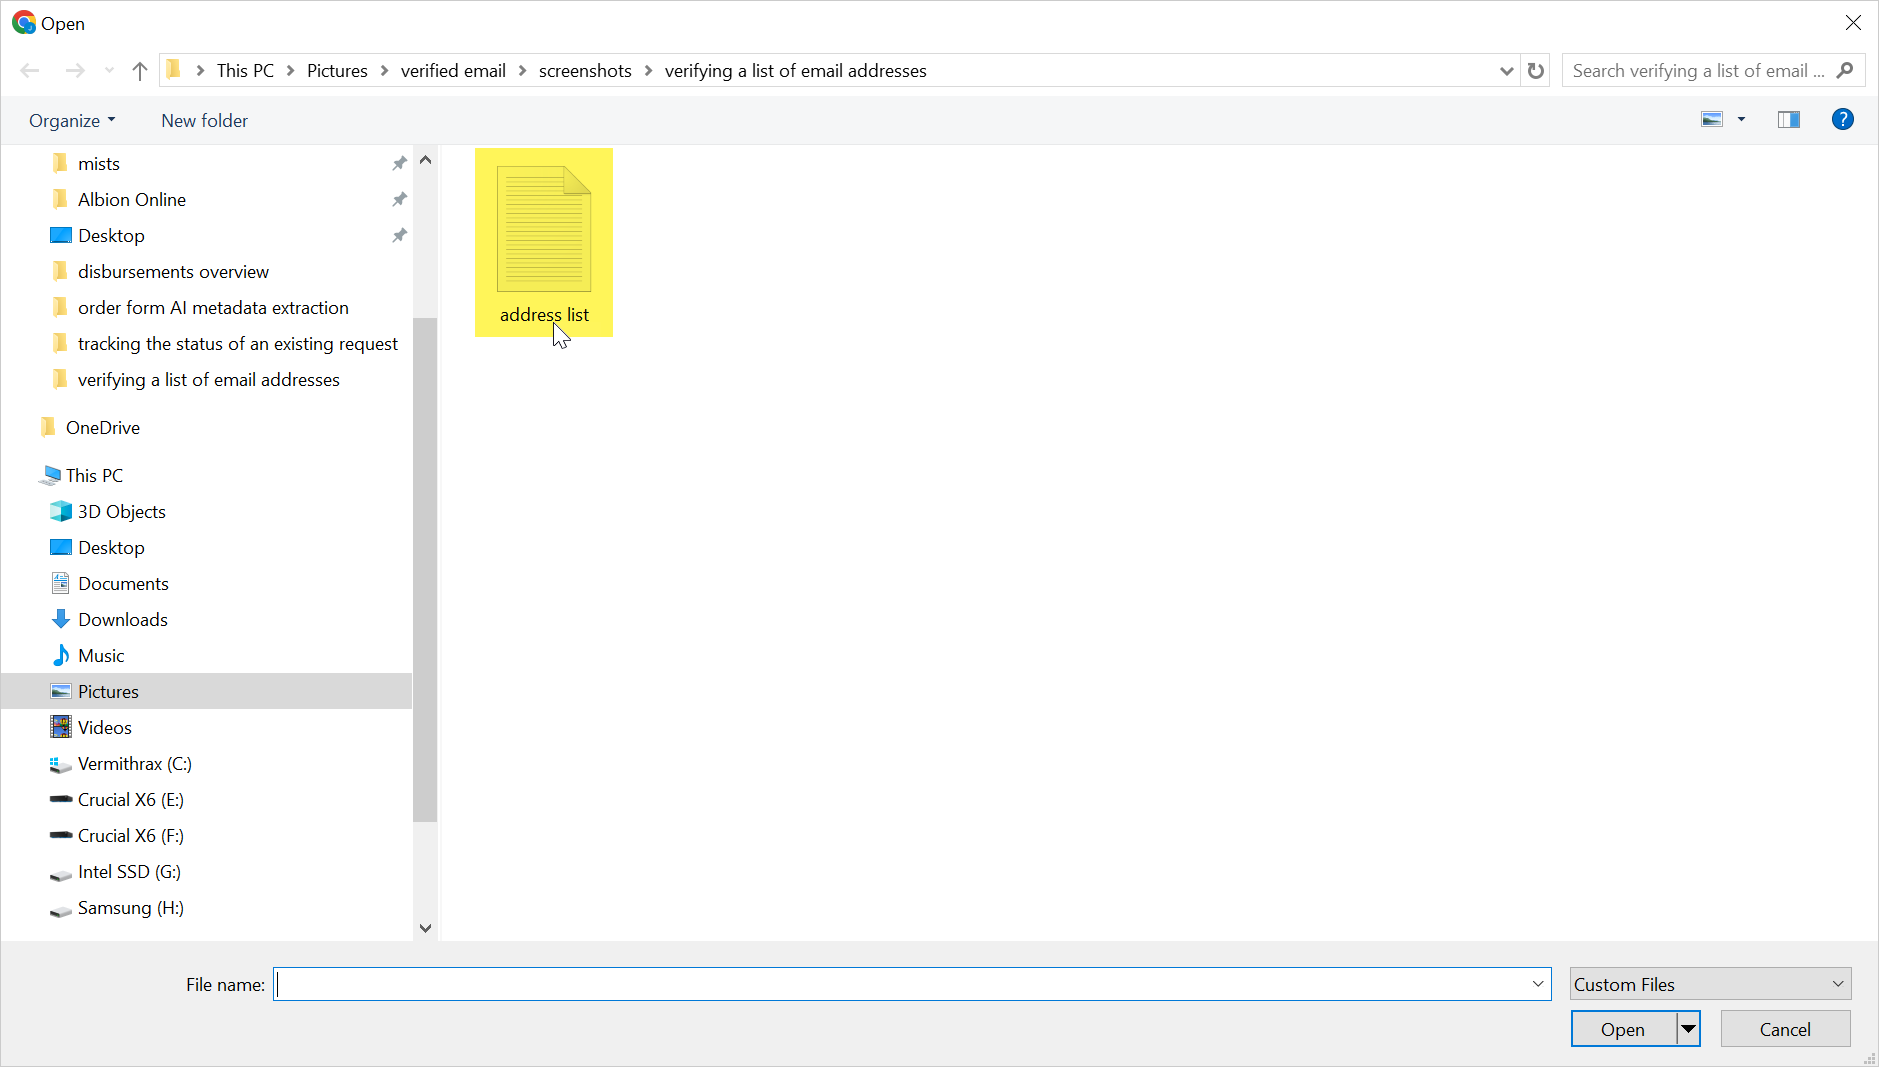
- An Explorer or Finder window opens. Browse to and select the email address list file.
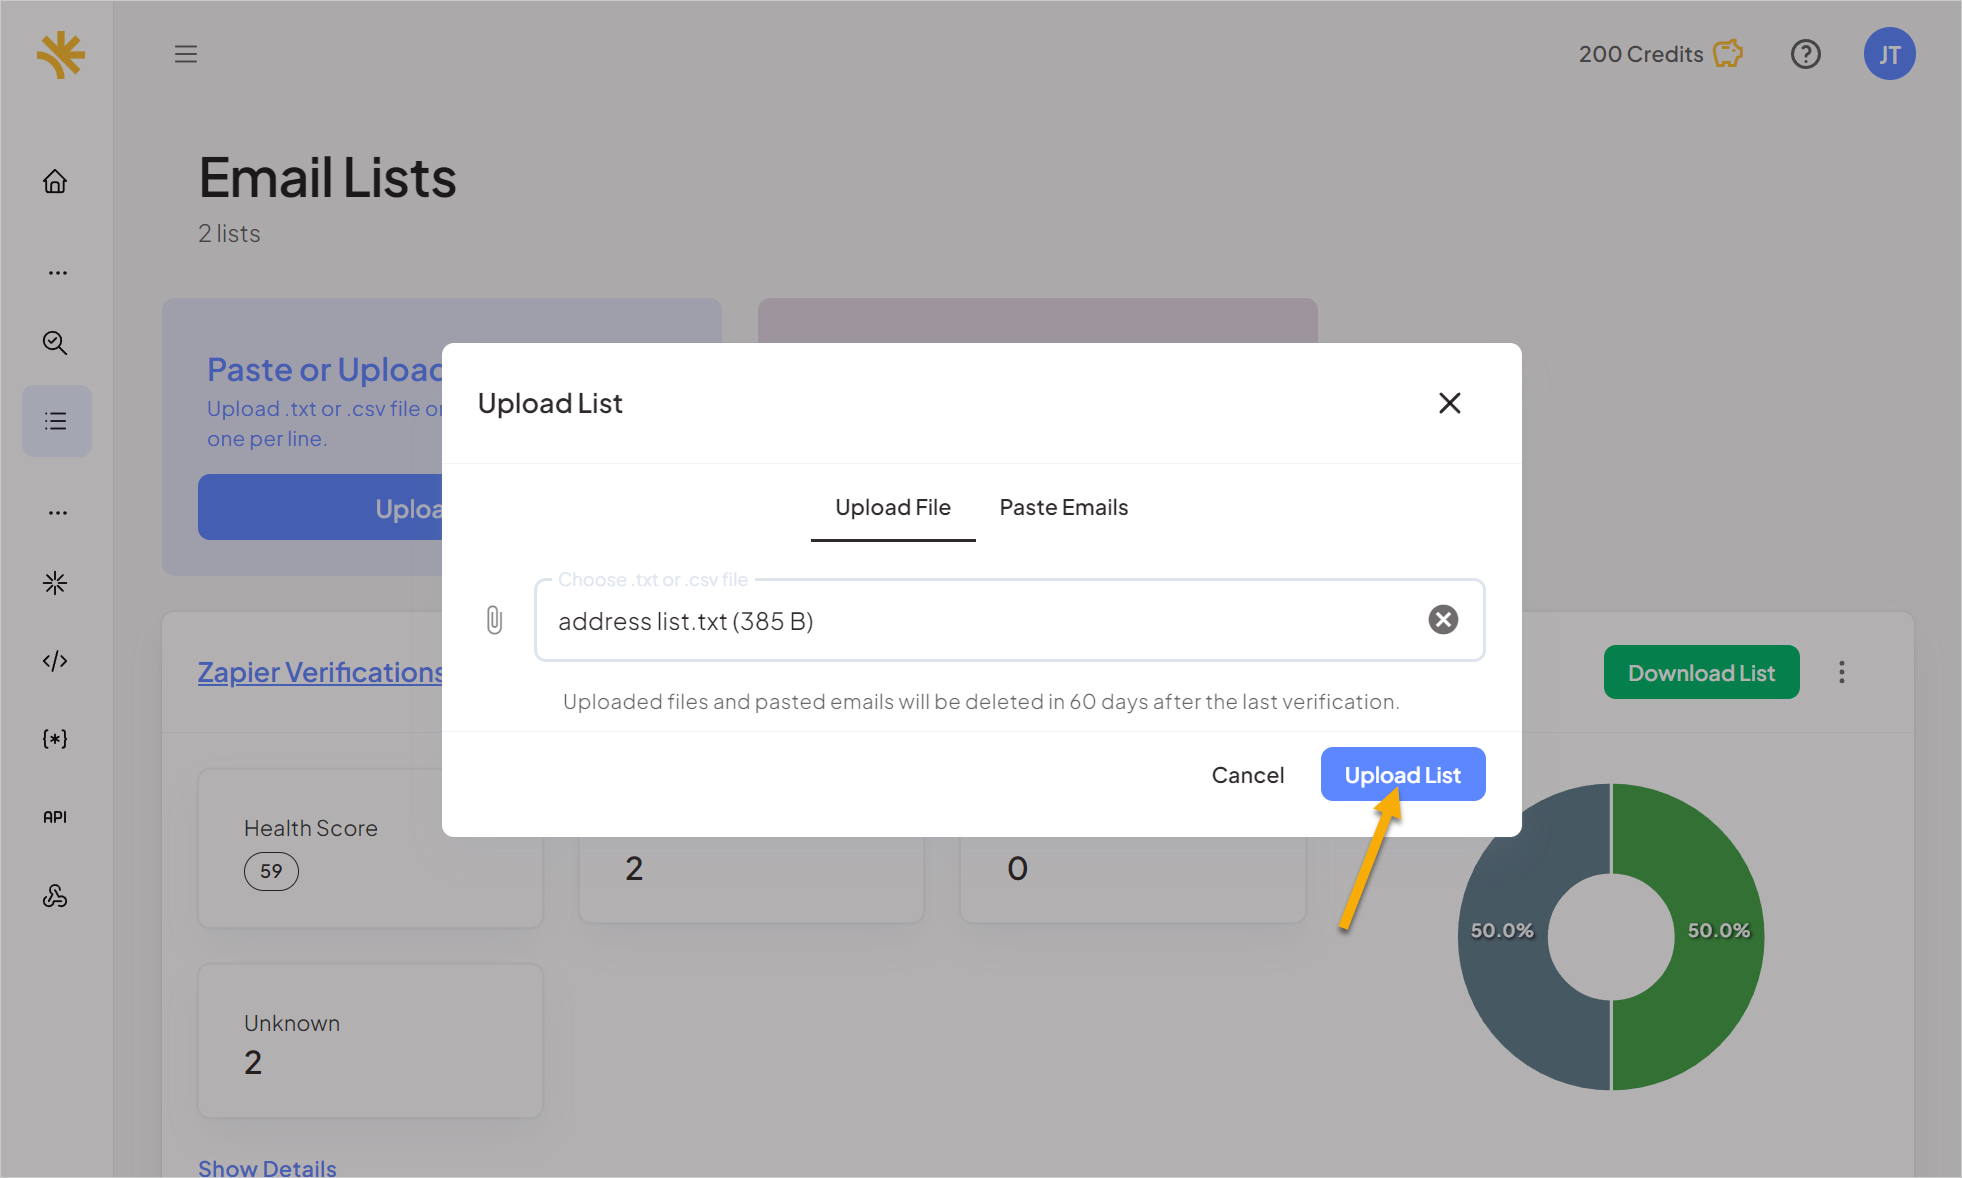
- Click Upload List.

The list is uploaded and appears above the other lists on the page, just below the Upload List button. The name of the newly created list matches the name of the file you uploaded.
Upload List.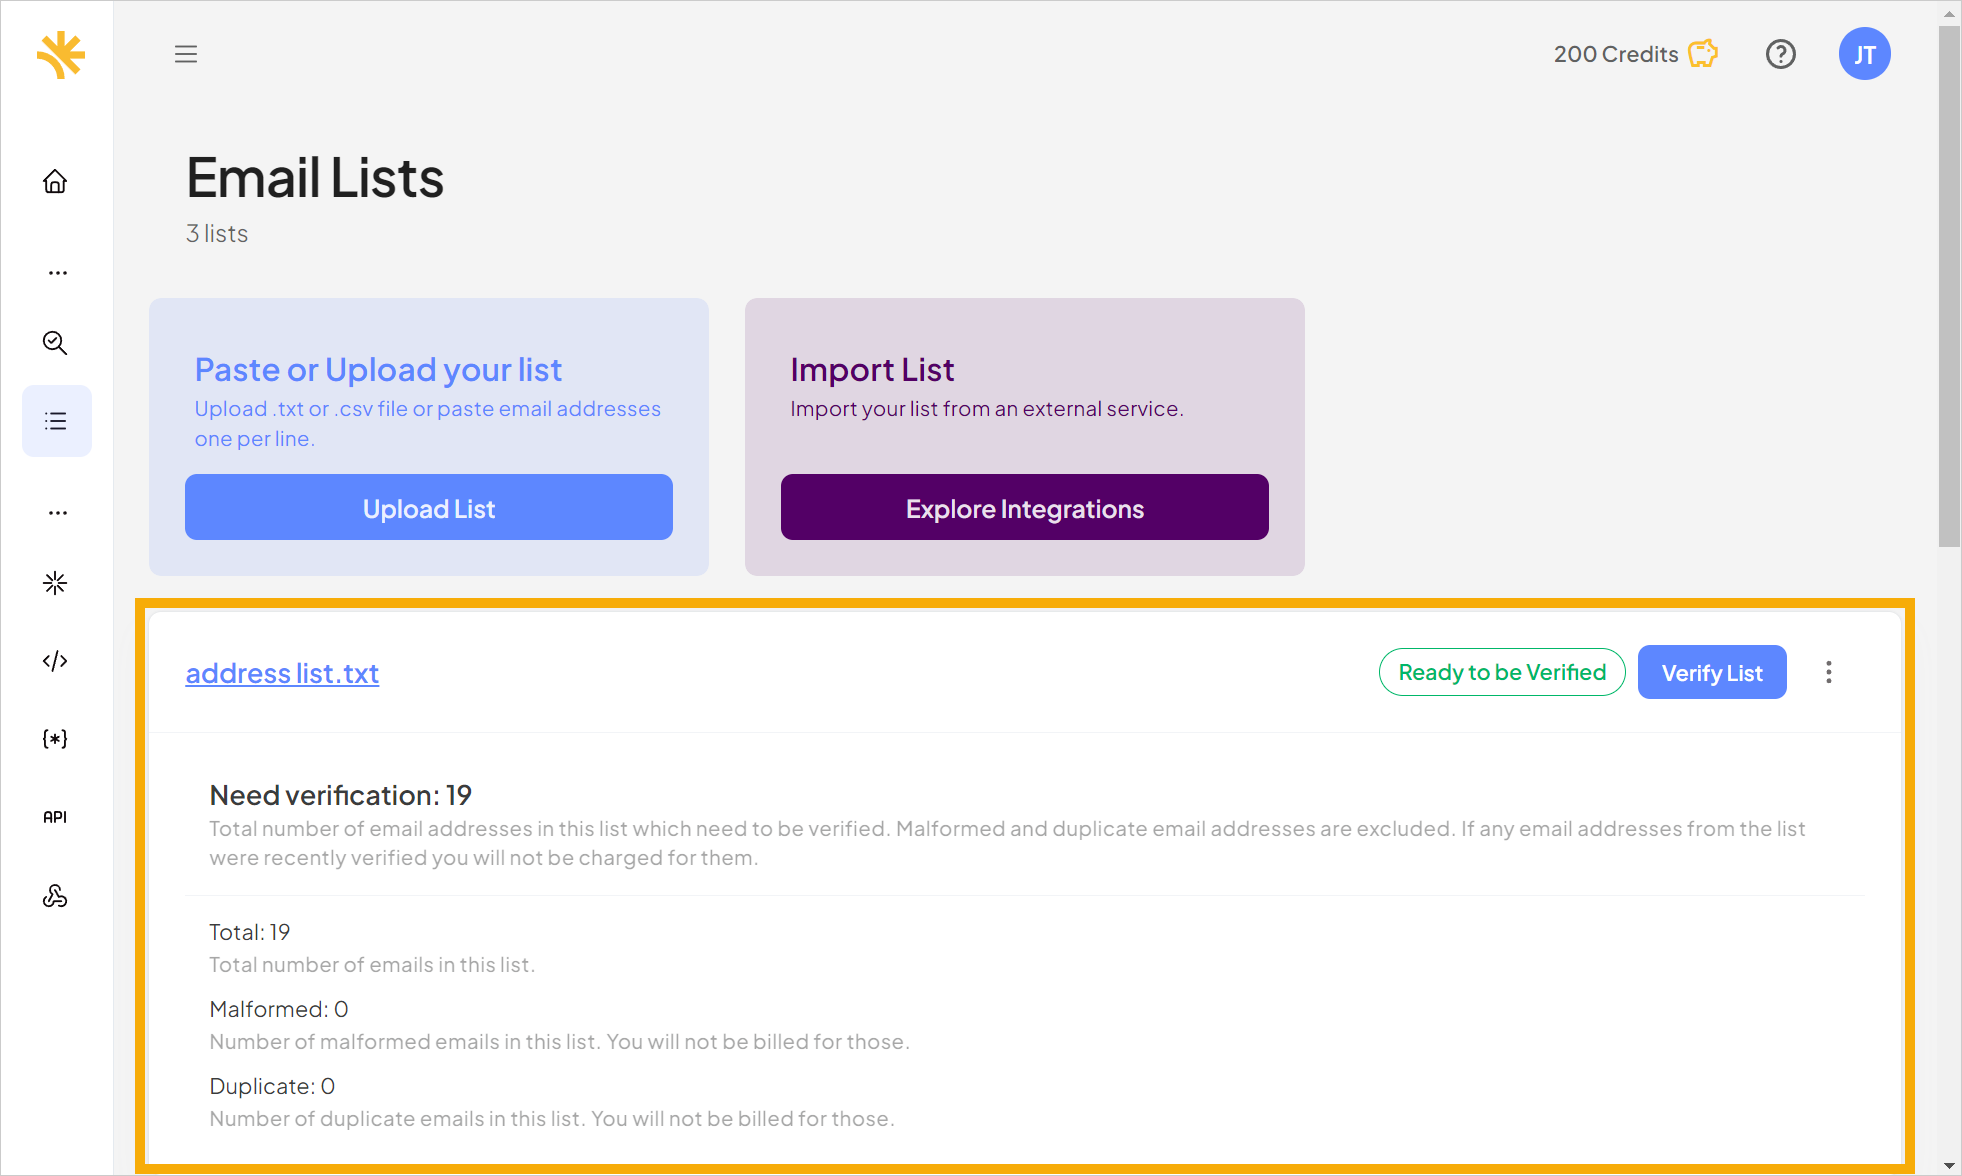
Pasting In a List of Email Addresses
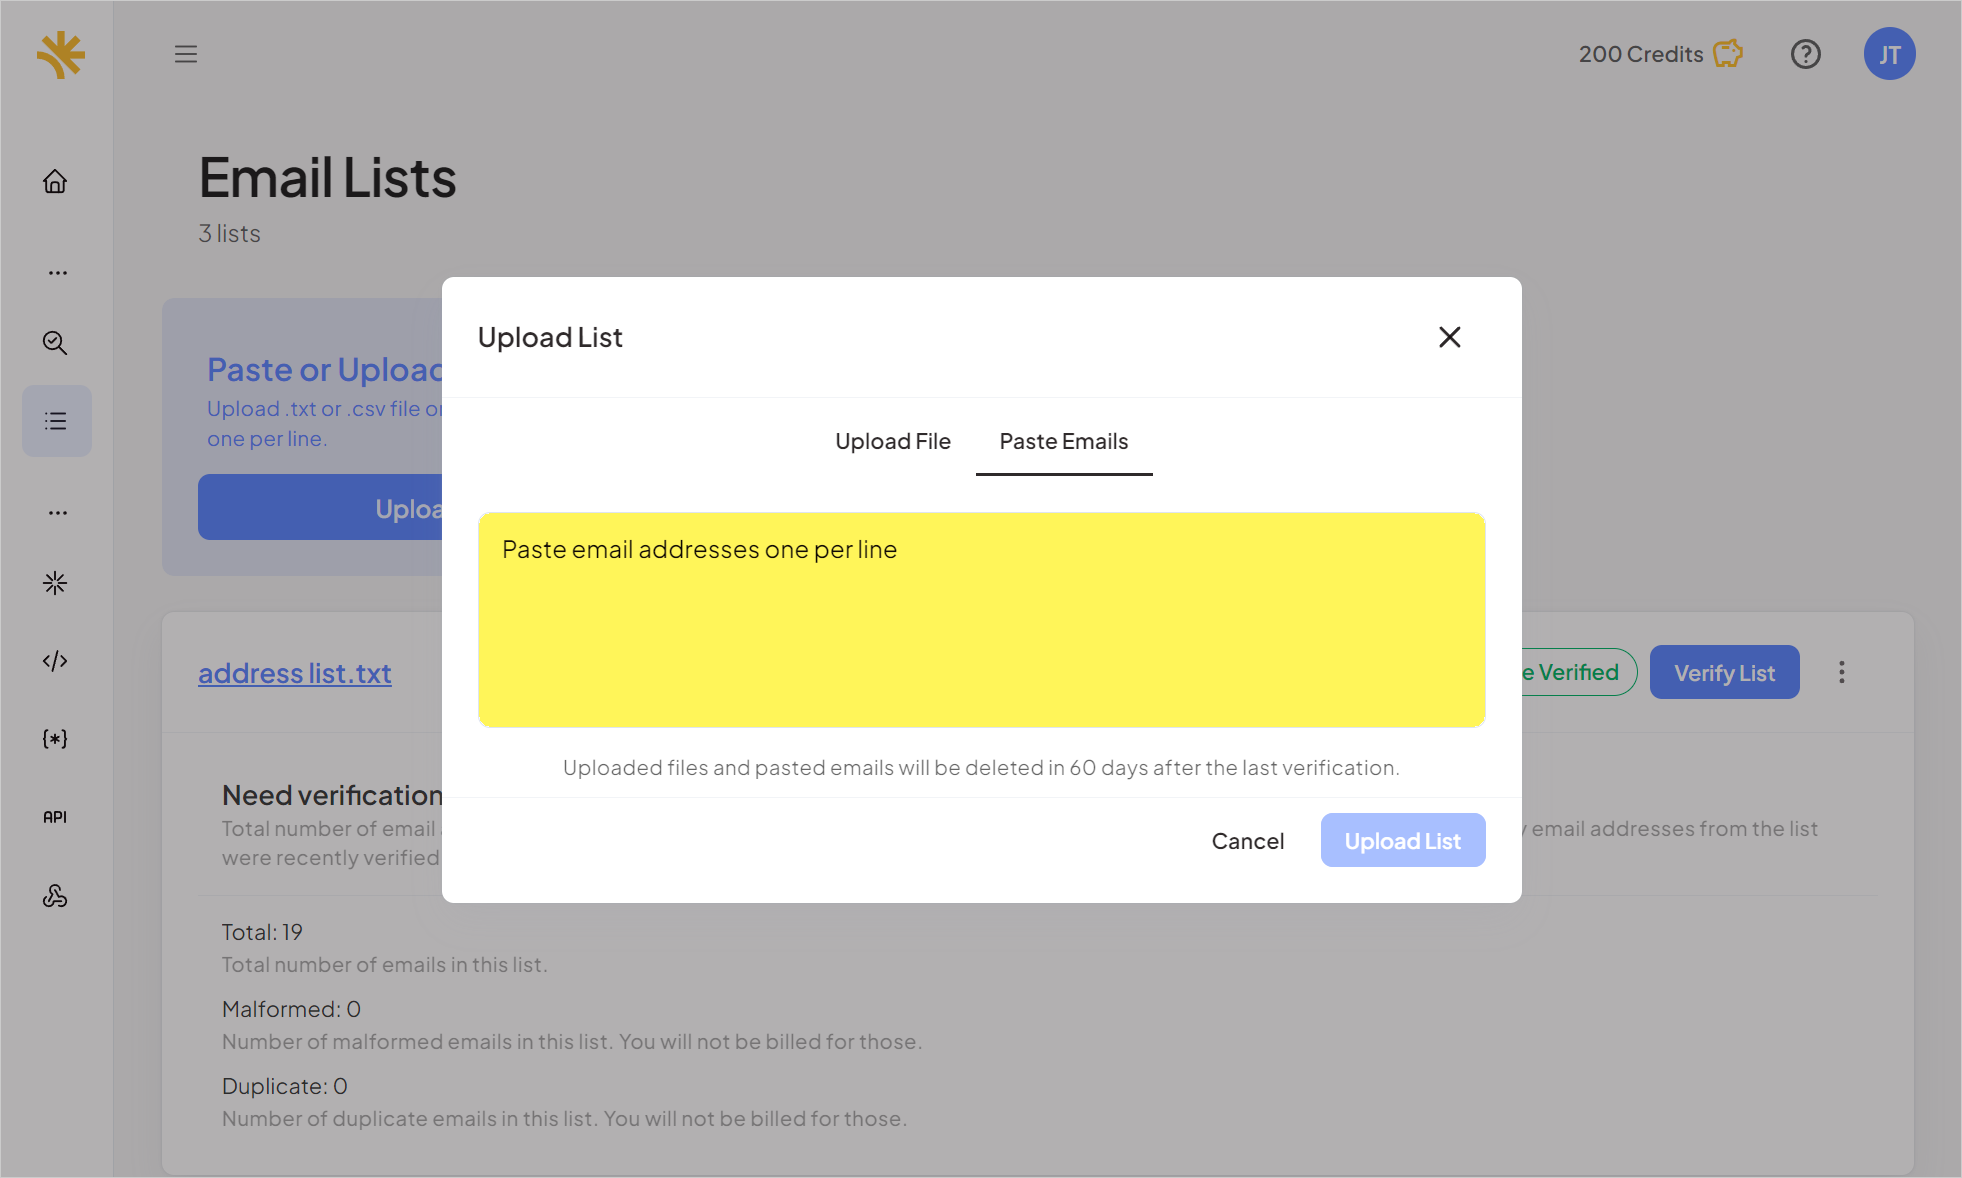
- To paste a list of email addresses for verification into VerifiedEmail, click Upload List.
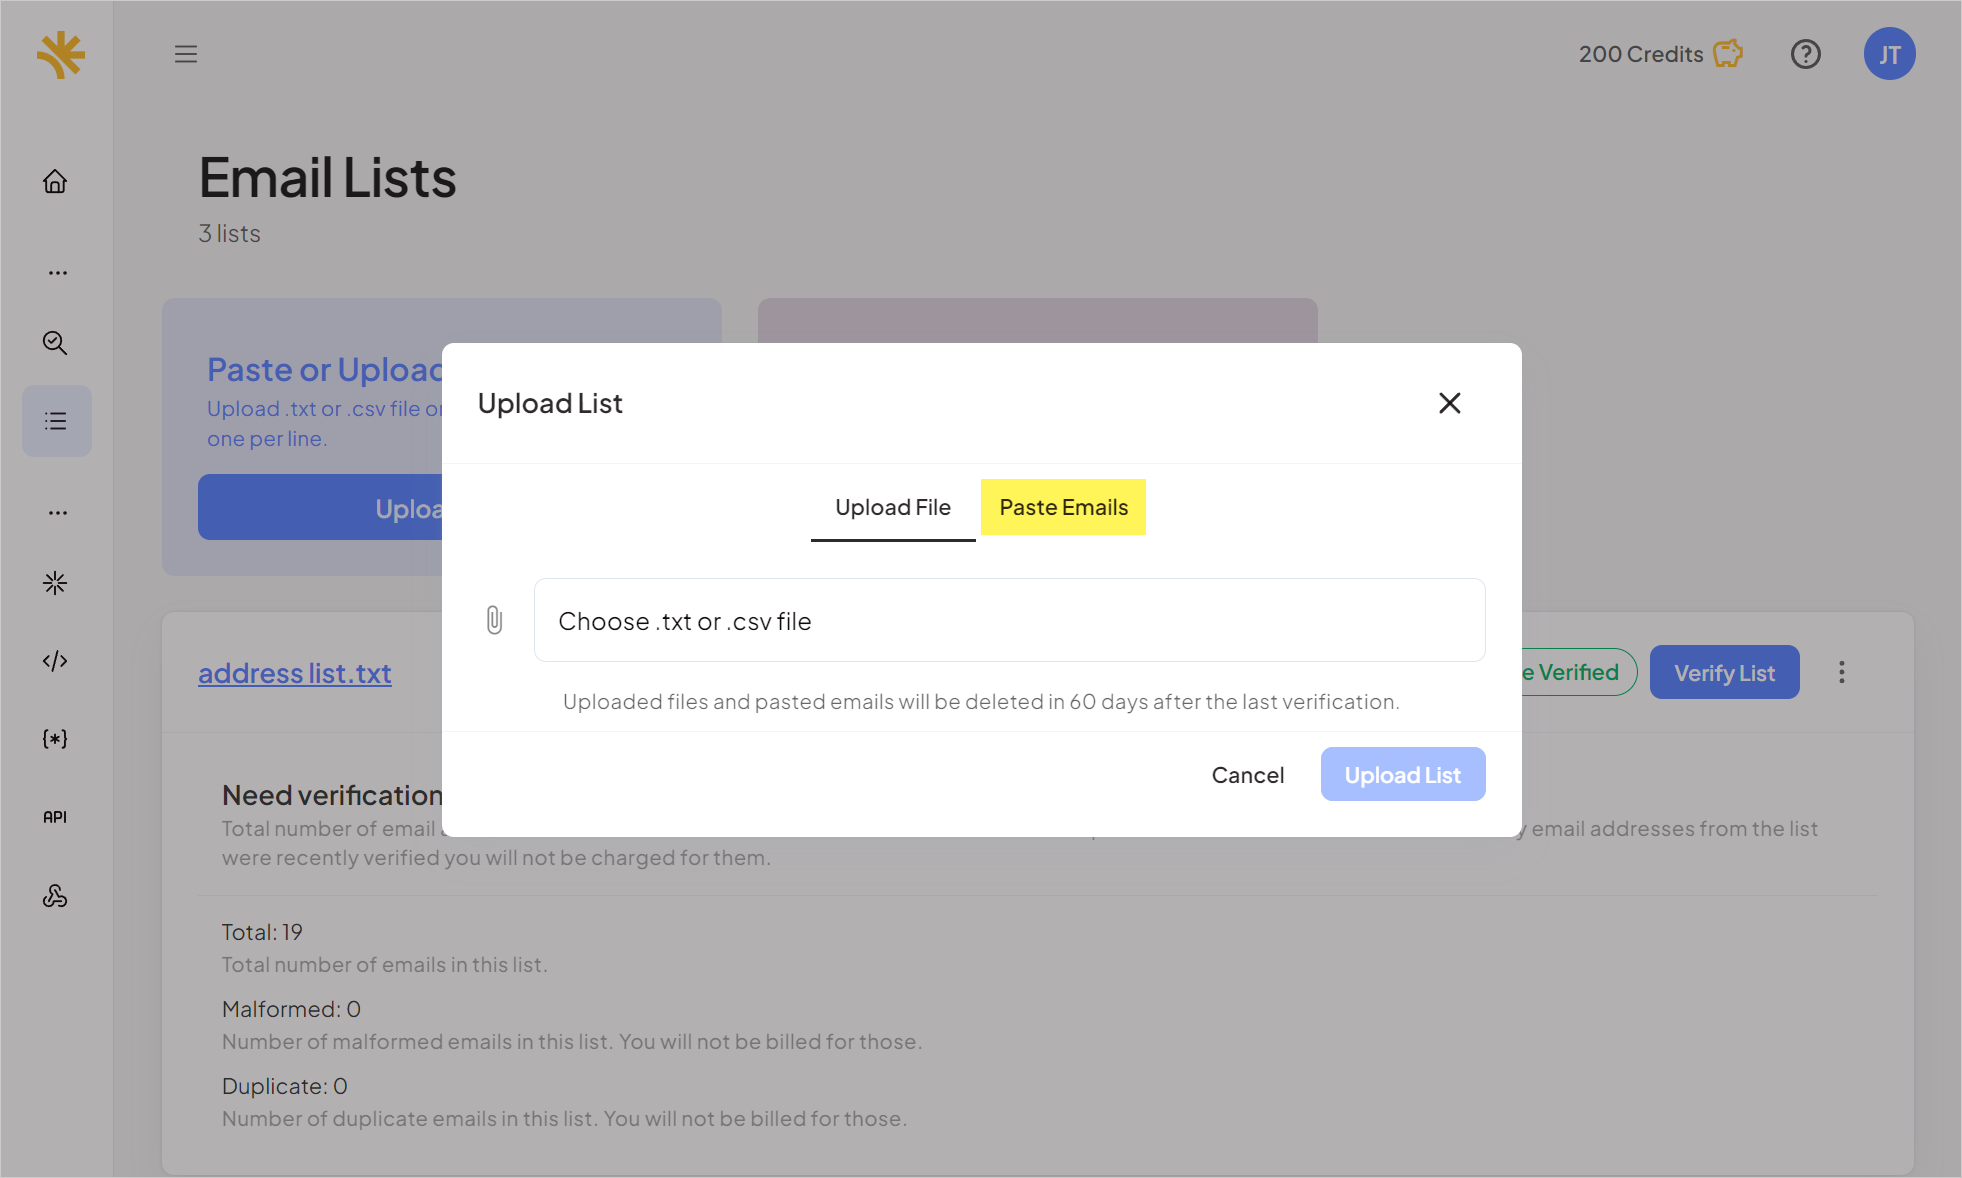
- In the Upload List dialog that appears, click the Paste Emails tab.
- Click the text area labeled Paste email addresses one per line and paste in the email addresses.
- Click Upload List.
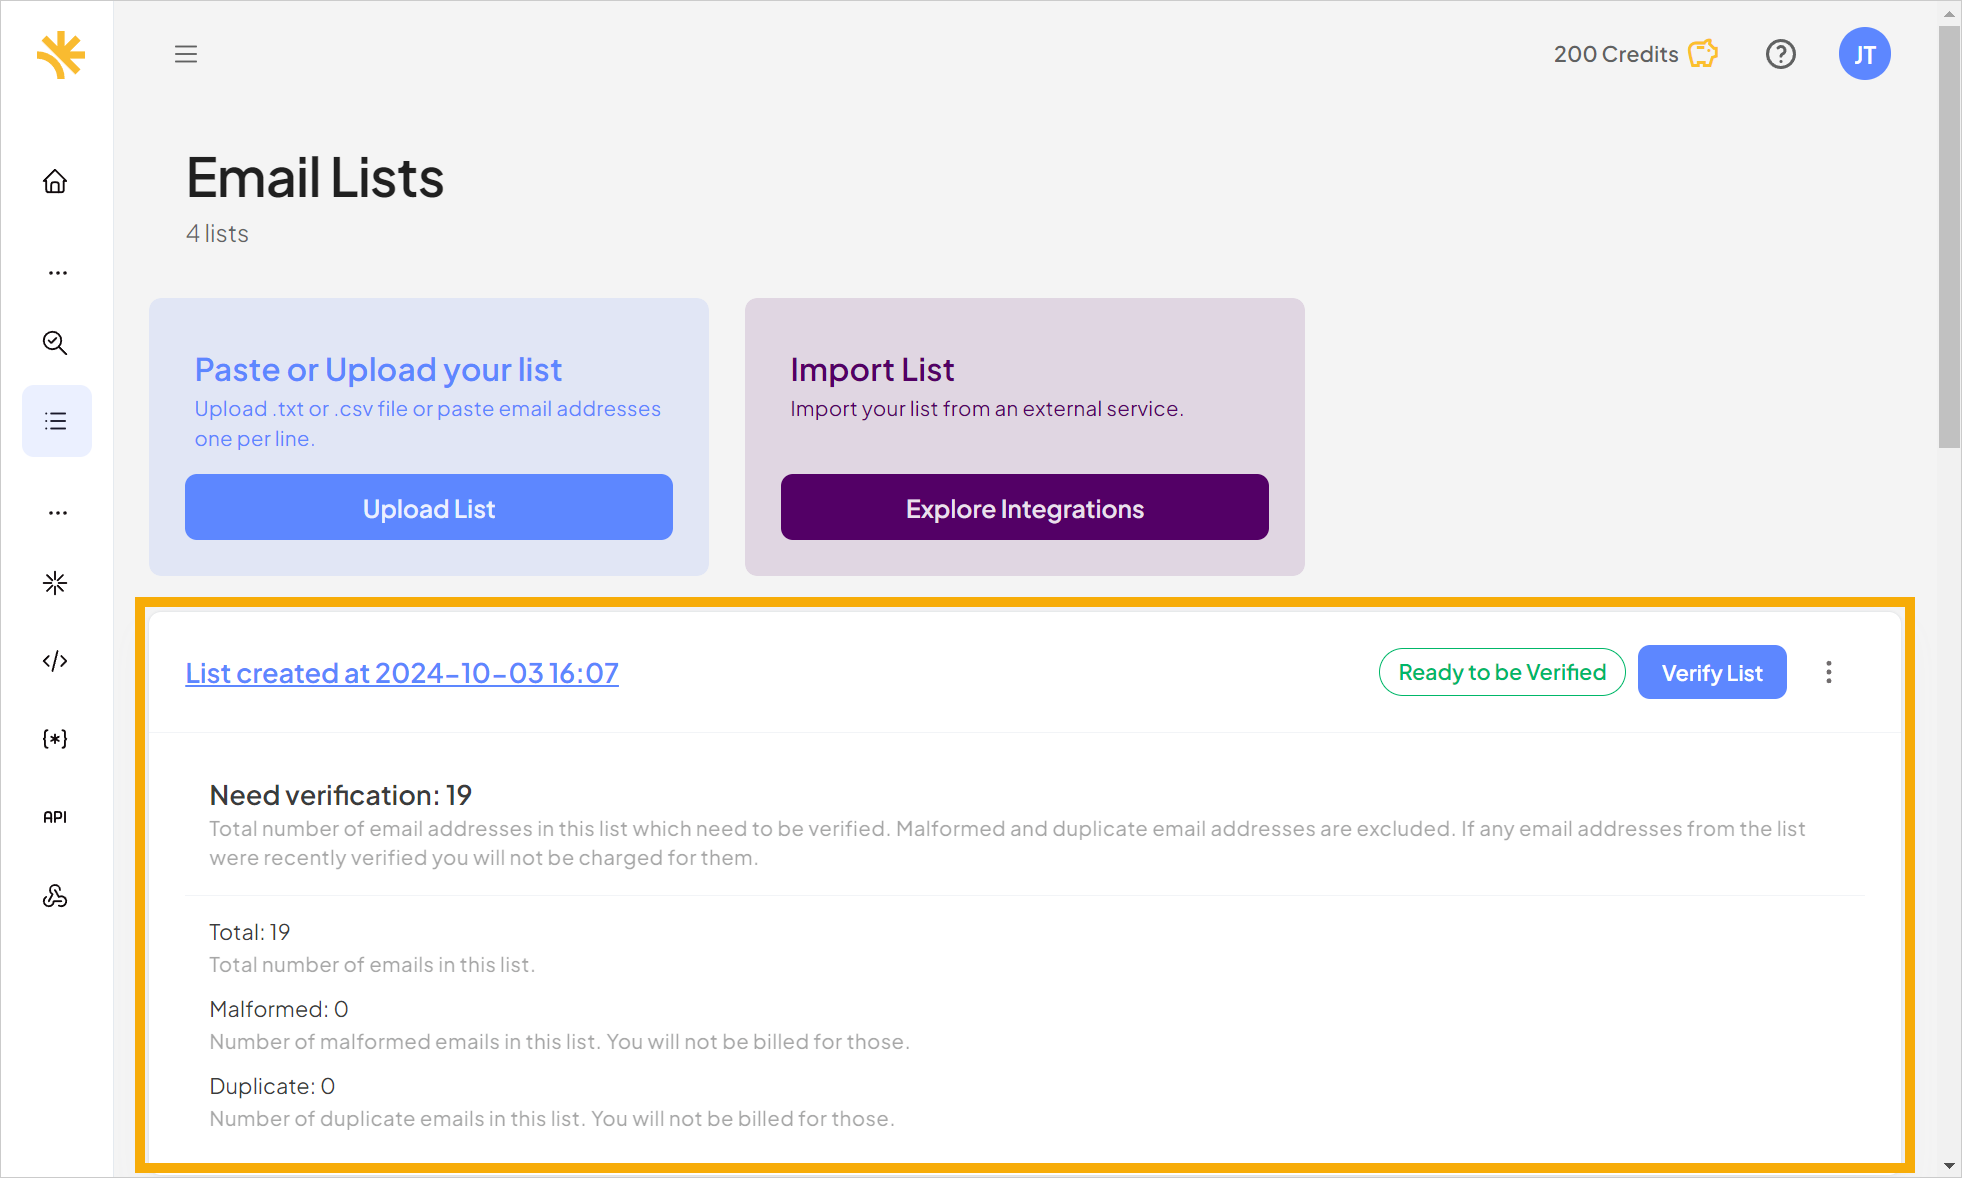
- The list is uploaded and appears above the other lists on the page, just below the Upload List button. The name of the newly created list is “List created at” followed by the date and time of creation in UTC.

Verifying an Email List
- Once you have uploaded or created an email list, click Verify List in the upper right-hand corner of the list’s card to begin verification.
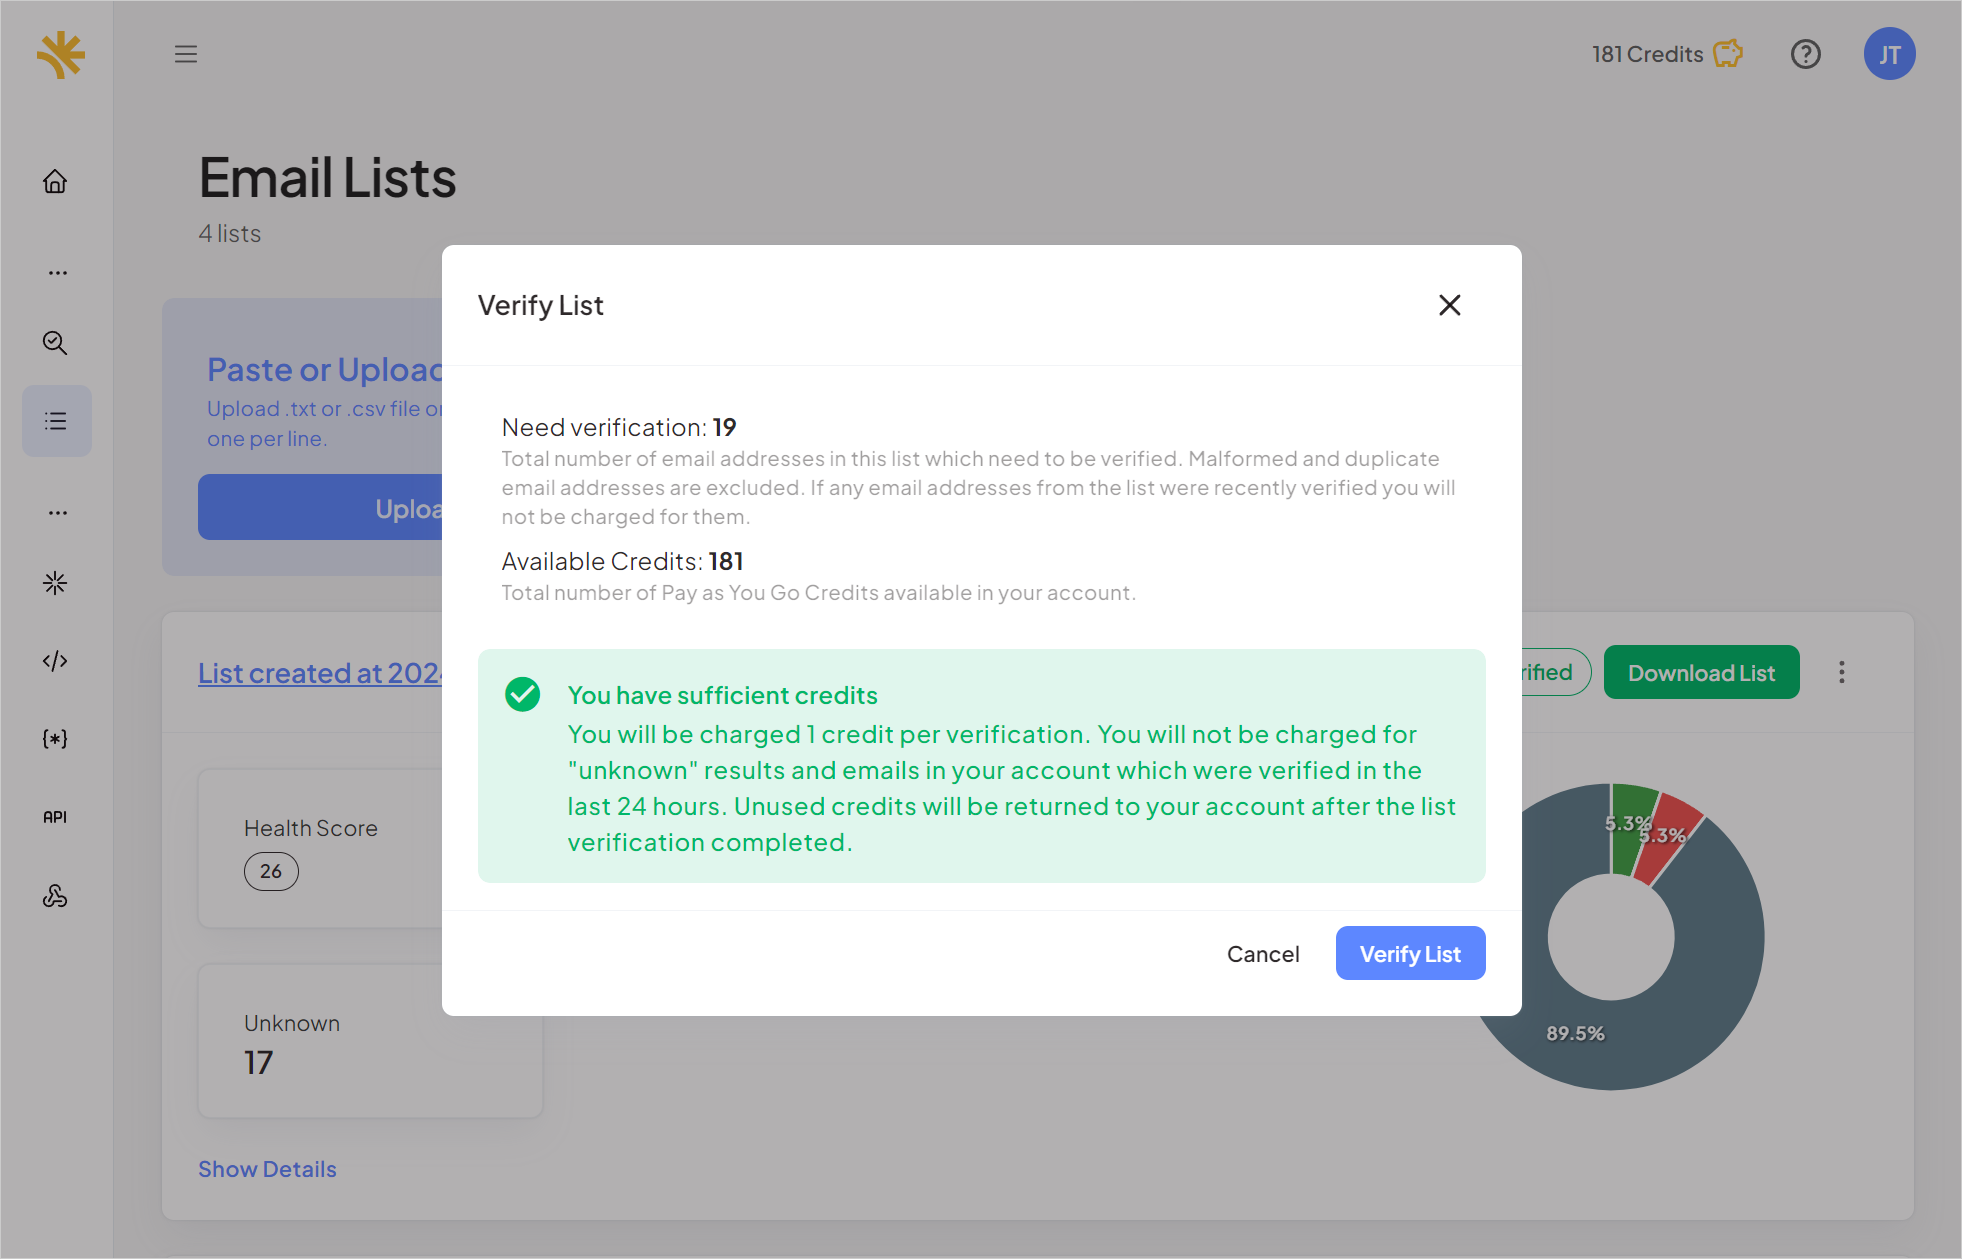
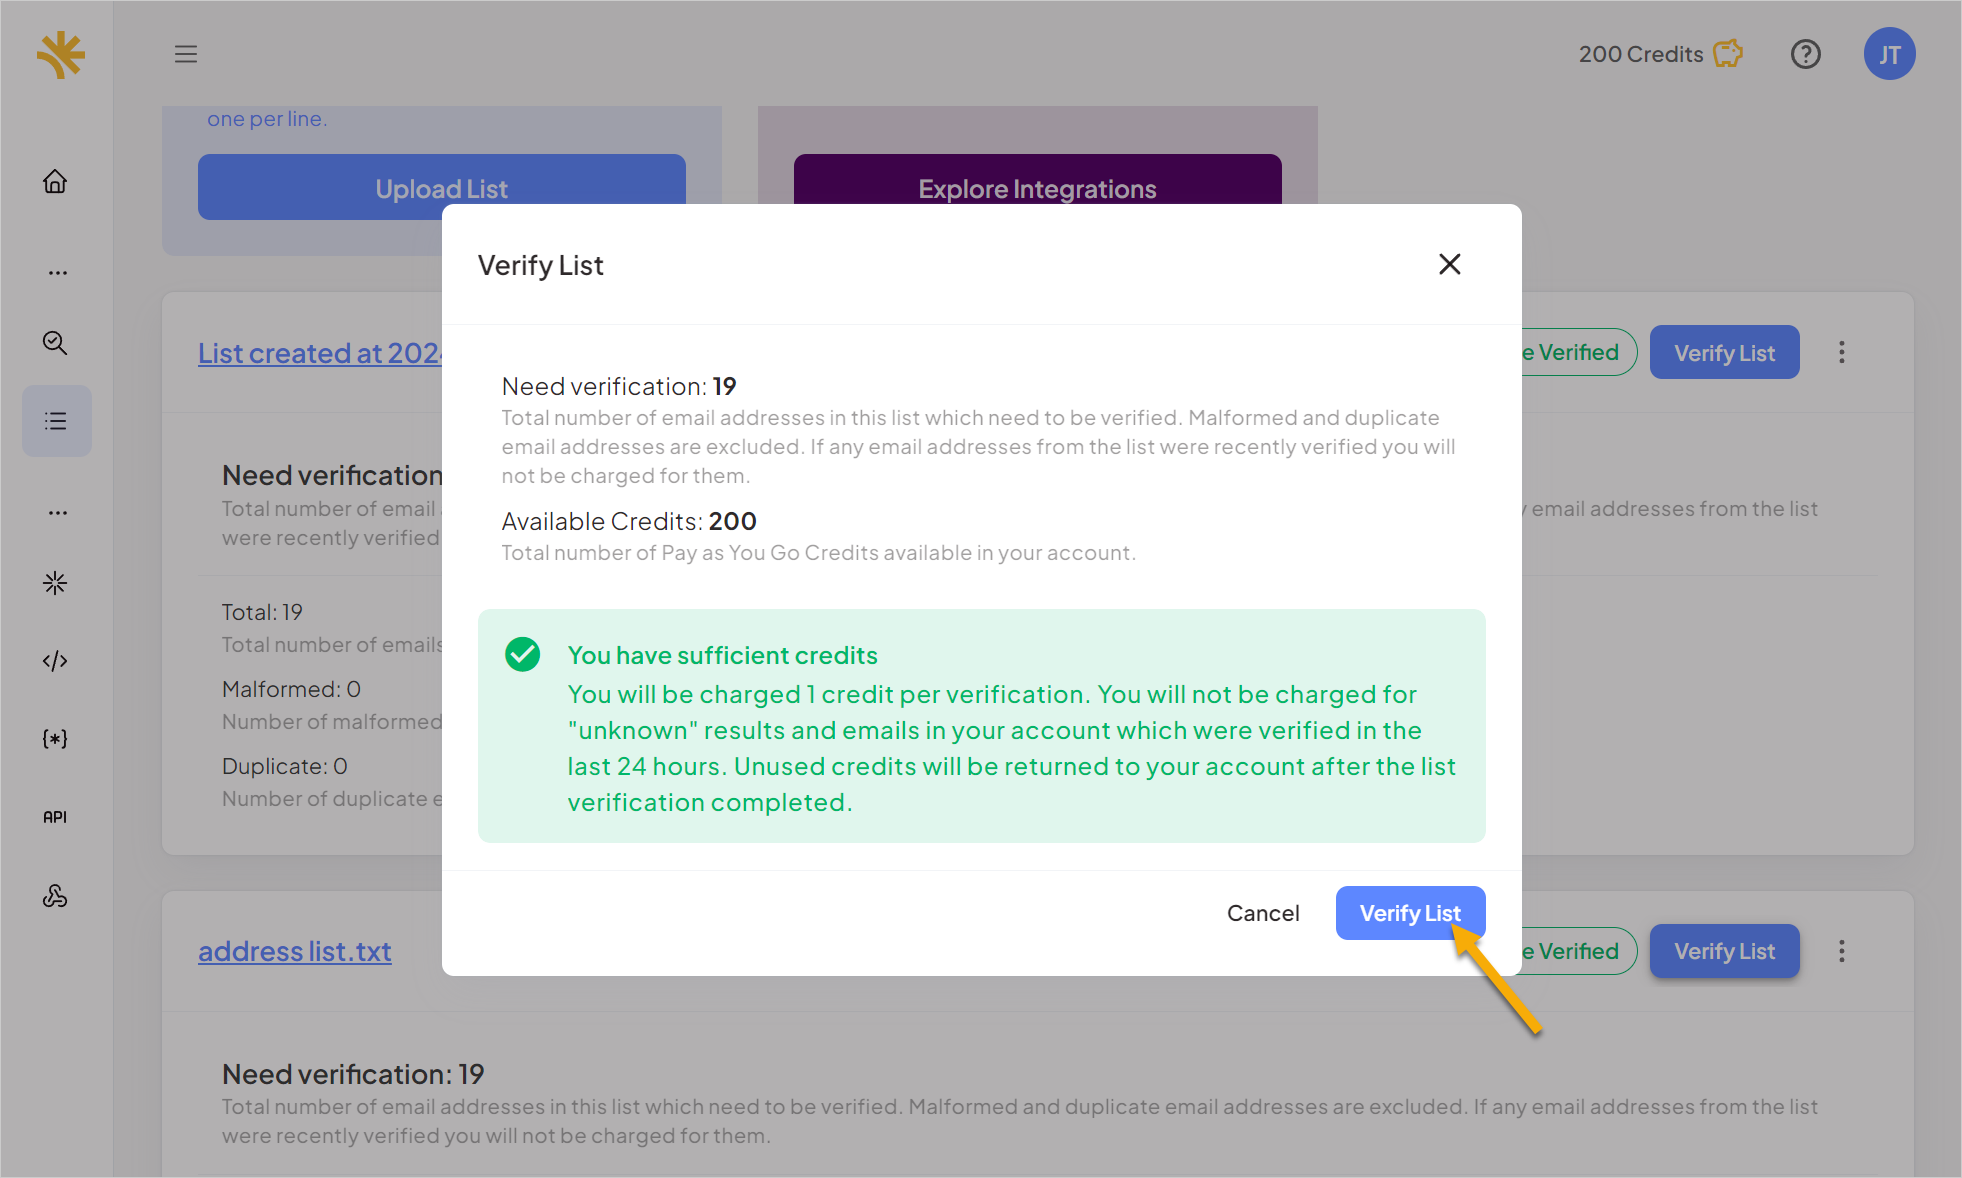
- The Verify List dialog appears, showing the total number of addresses to be verified and the total number of Pay As You Go credits you have available. For more information about credits, please see Credits and Packages.
If you already have sufficient credits, click Verify List at the bottom right-hand corner of the dialog, and proceed to step 3.
If you need to purchase additional credits, the Verify List dialog displays the Insufficient credits alert.
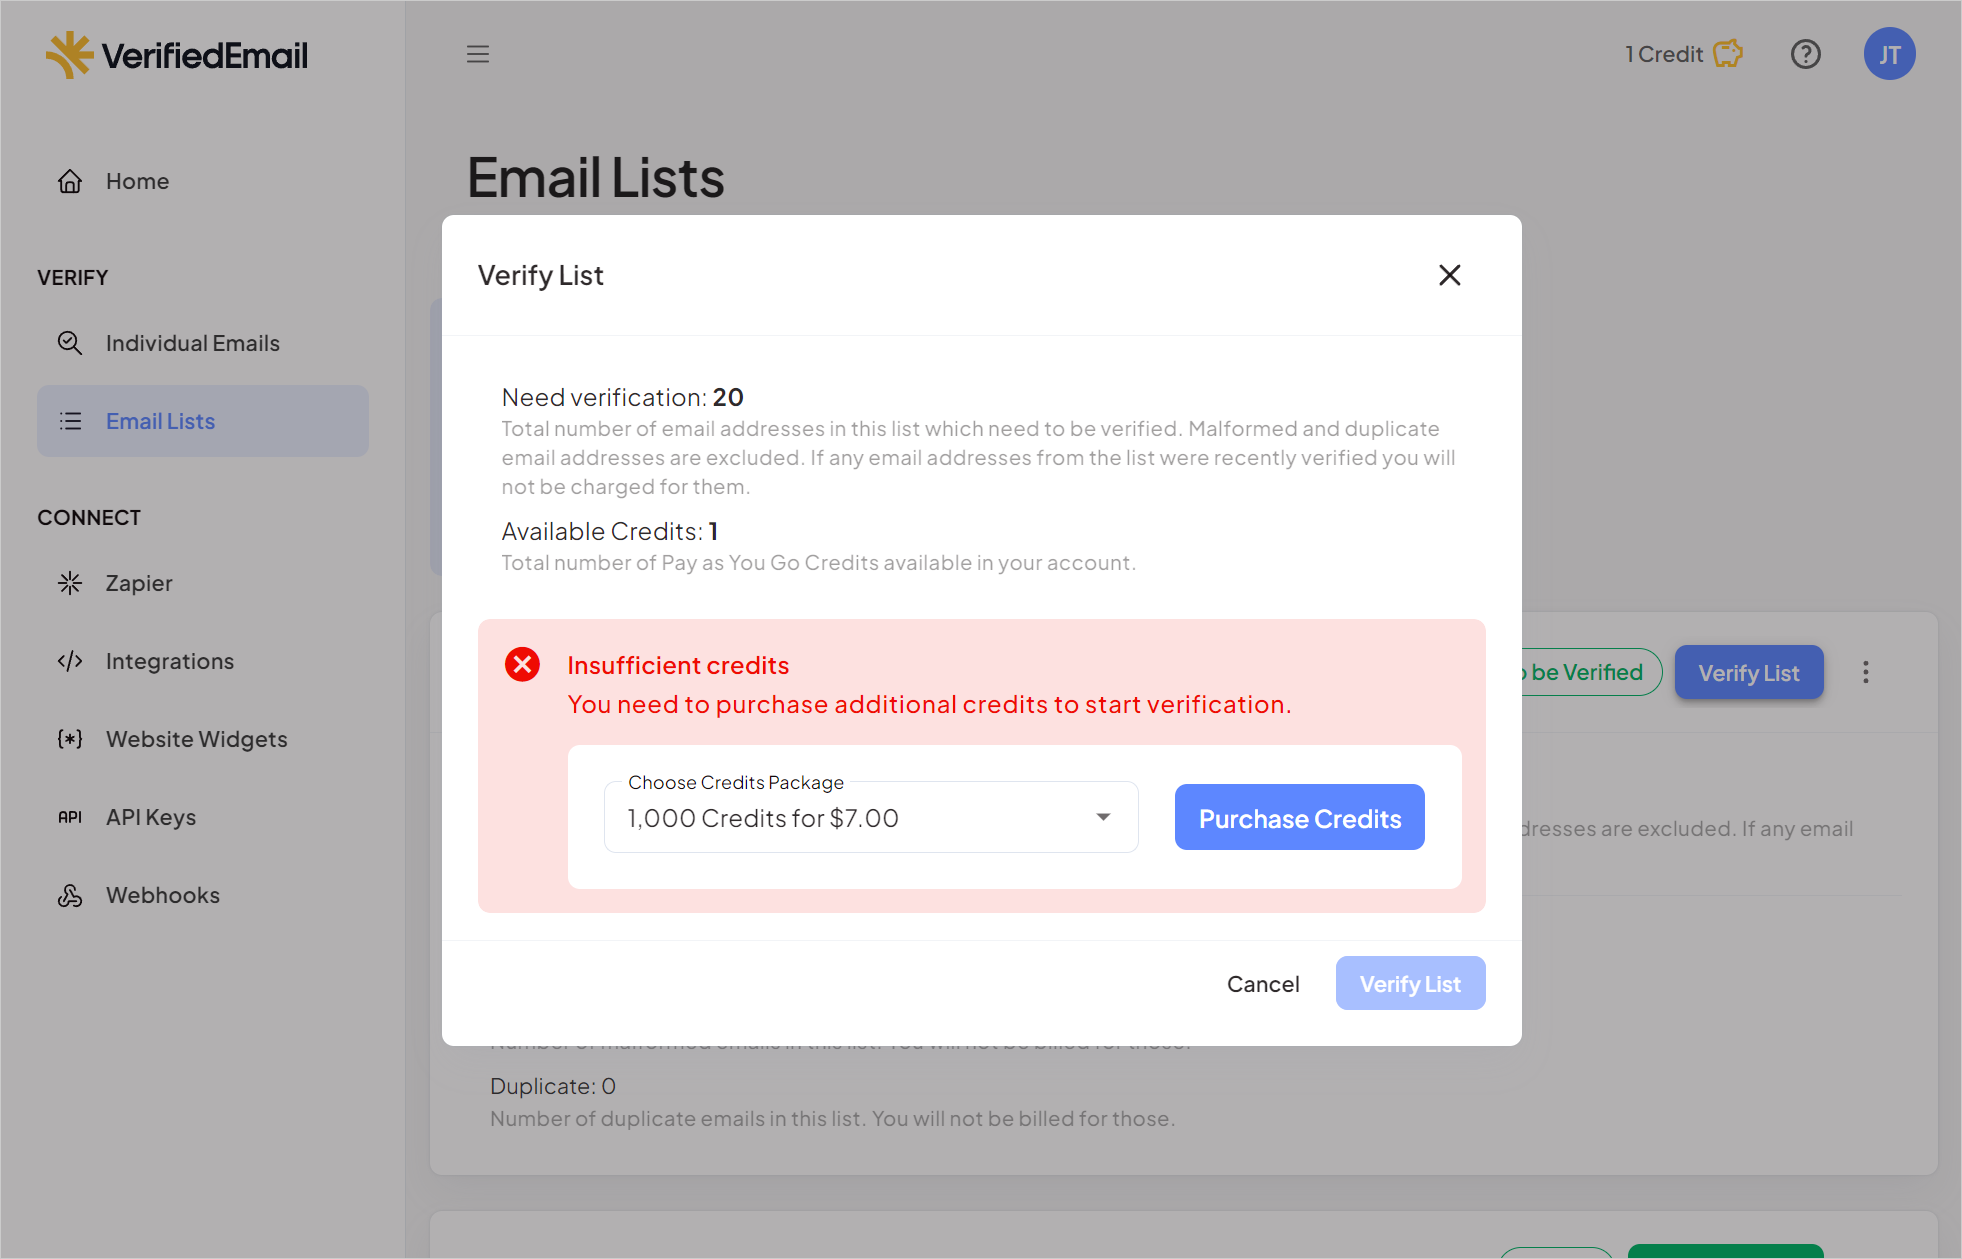
To proceed, click the Choose Credits Package drop-down and select the number of credits you want to purchase.
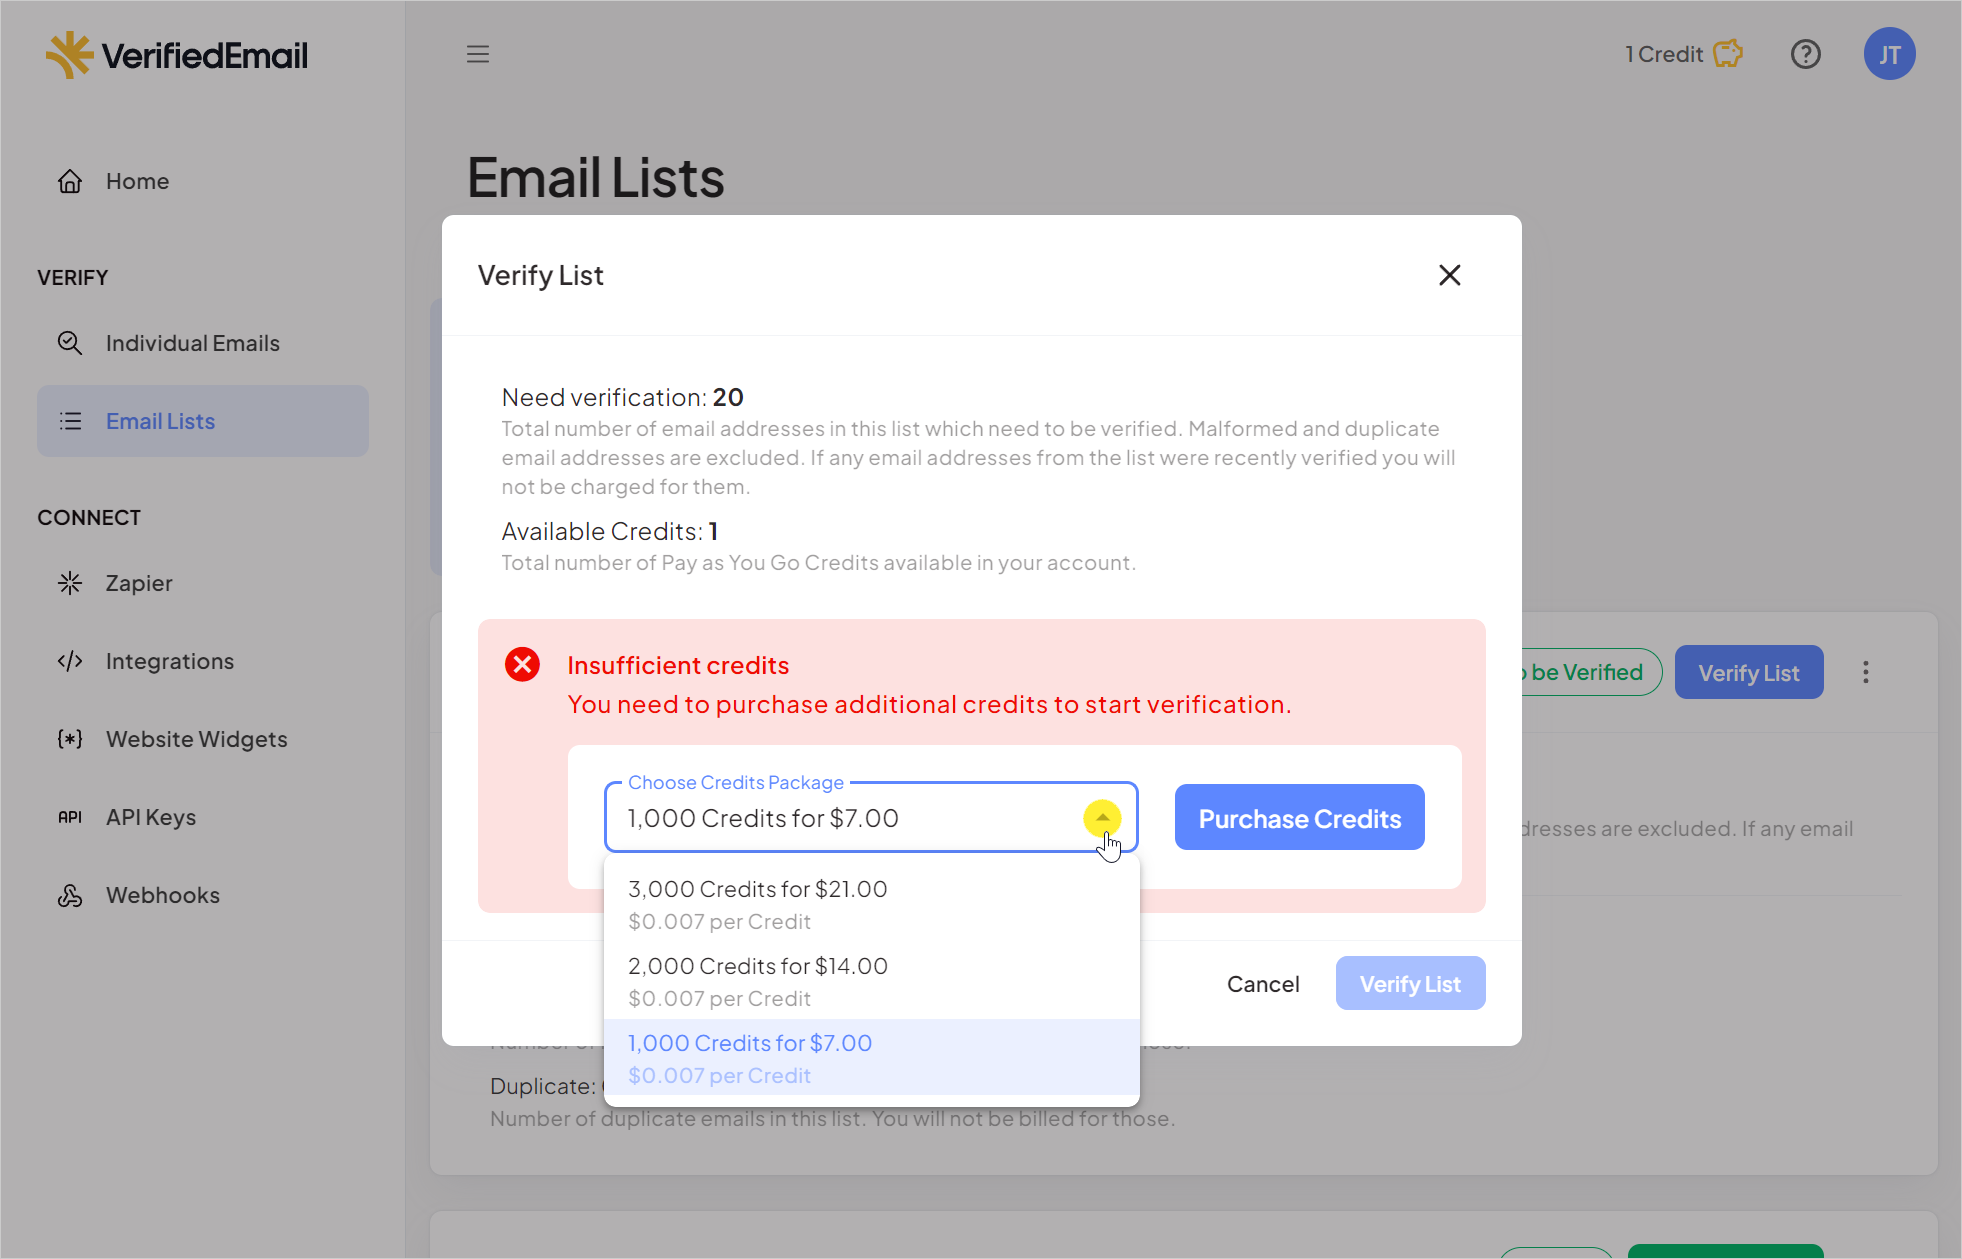
Then, click Purchase Credits.
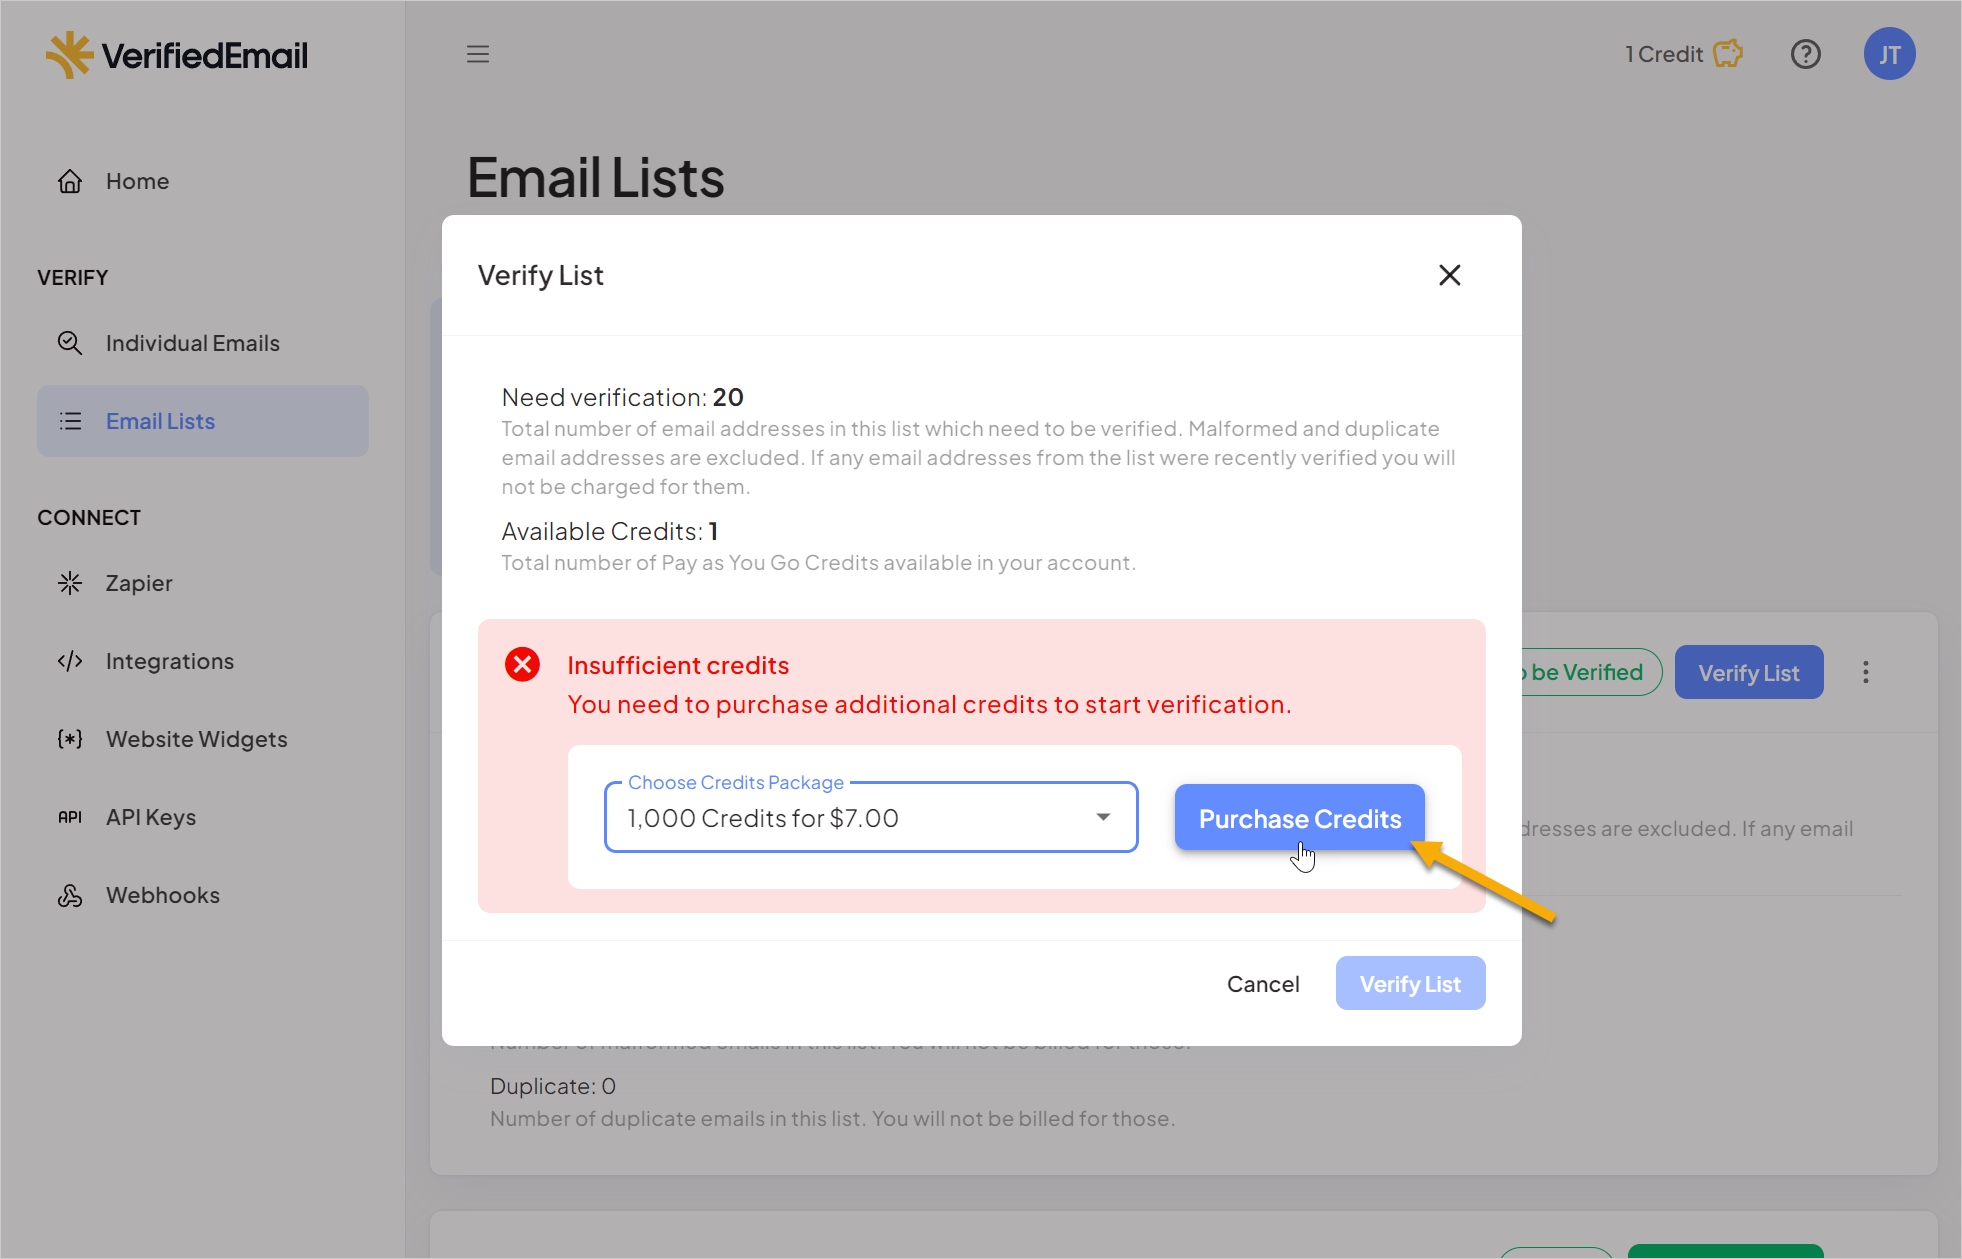
A confirmation dialog appears with your email address and region automatically filled in. Enter the postal code associated with your payment method (e.g., credit card) in the ZIP/Post code field and then click Continue.

If you have previously stored a payment method in your VerifiedEmail account, your credit purchase is processed immediately using your stored payment account, and the credits are added to your VerifiedEmail account.
If you have not yet stored a payment method in your VerifiedEmail account, you are prompted to pay using PayPal, Google Pay, or enter credit card details.
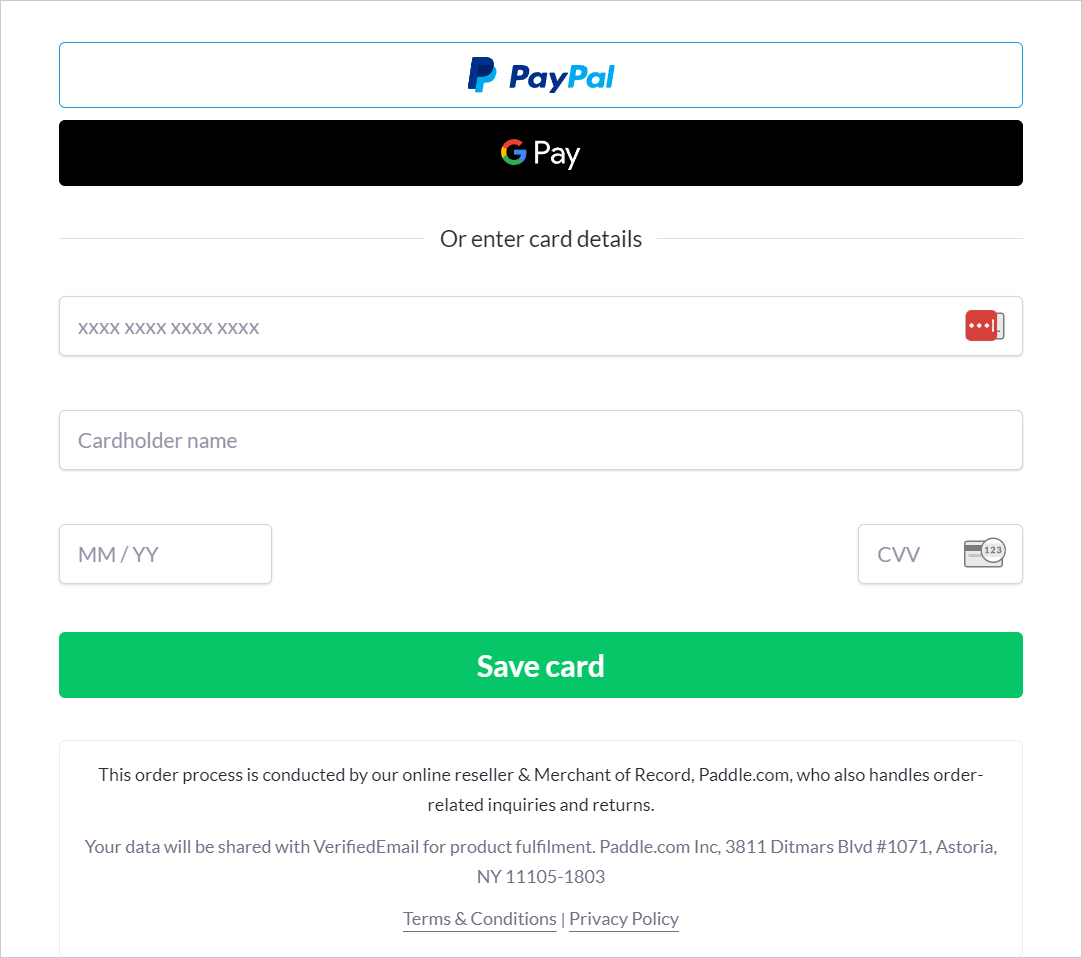
After entering payment details, your credit purchase is processed immediately using the payment method, and the credits are added to your VerifiedEmail account.
Click Verify List to proceed.


- When you click Verify List in the dialog, the dialog closes and you can view the progress as VerifiedEmail verifies each address.
- If you need to interrupt the verification process, click Stop in the upper right-hand corner of the email list’s card.
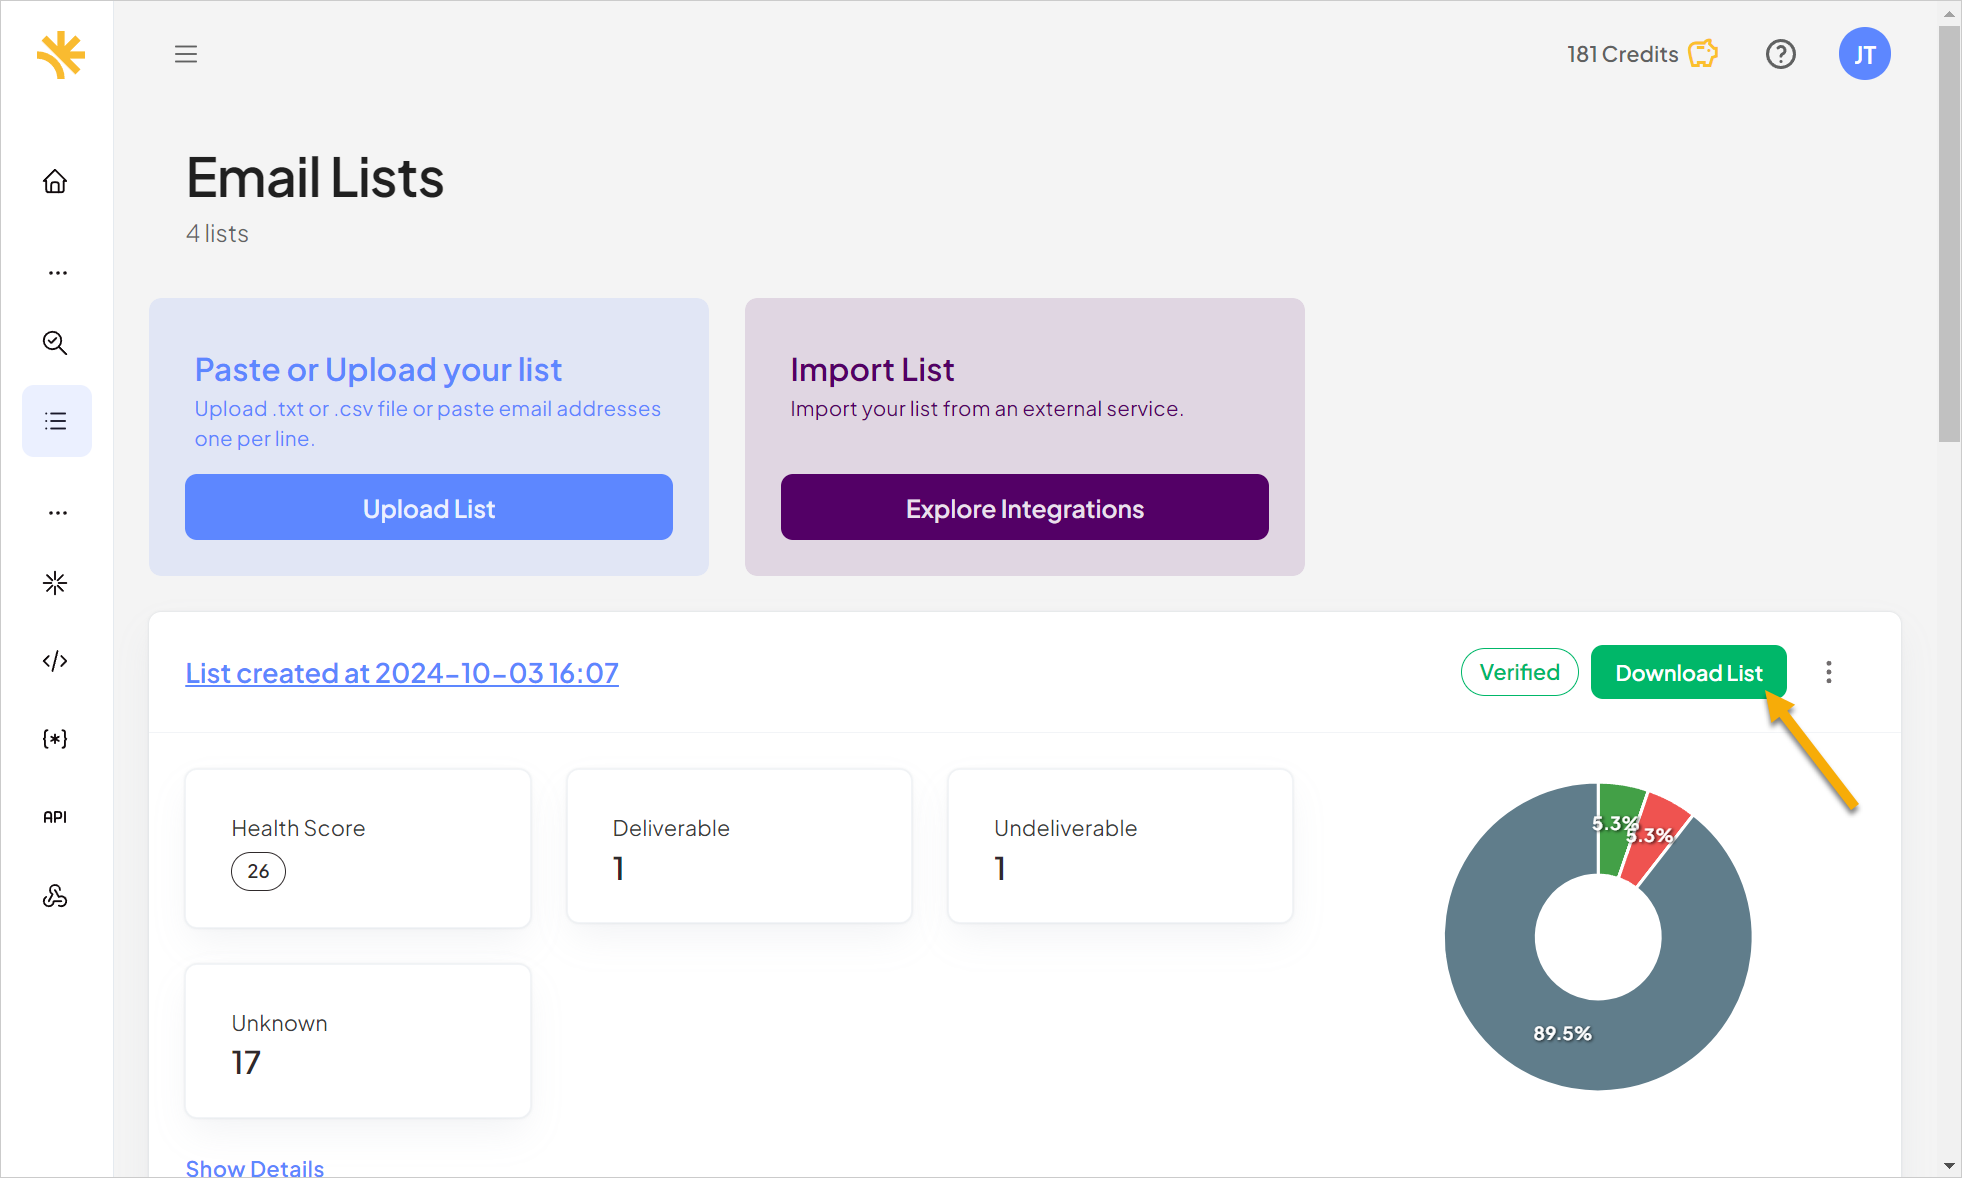
- You can move the mouse cursor over any segment of the chart to identify which status is represented.
- To see detailed verification statistics about the addresses in the list at any time, click Show Details.
- To download the list, complete with the verification results for each address, click Download List at the upper right-hand corner of any verified list.
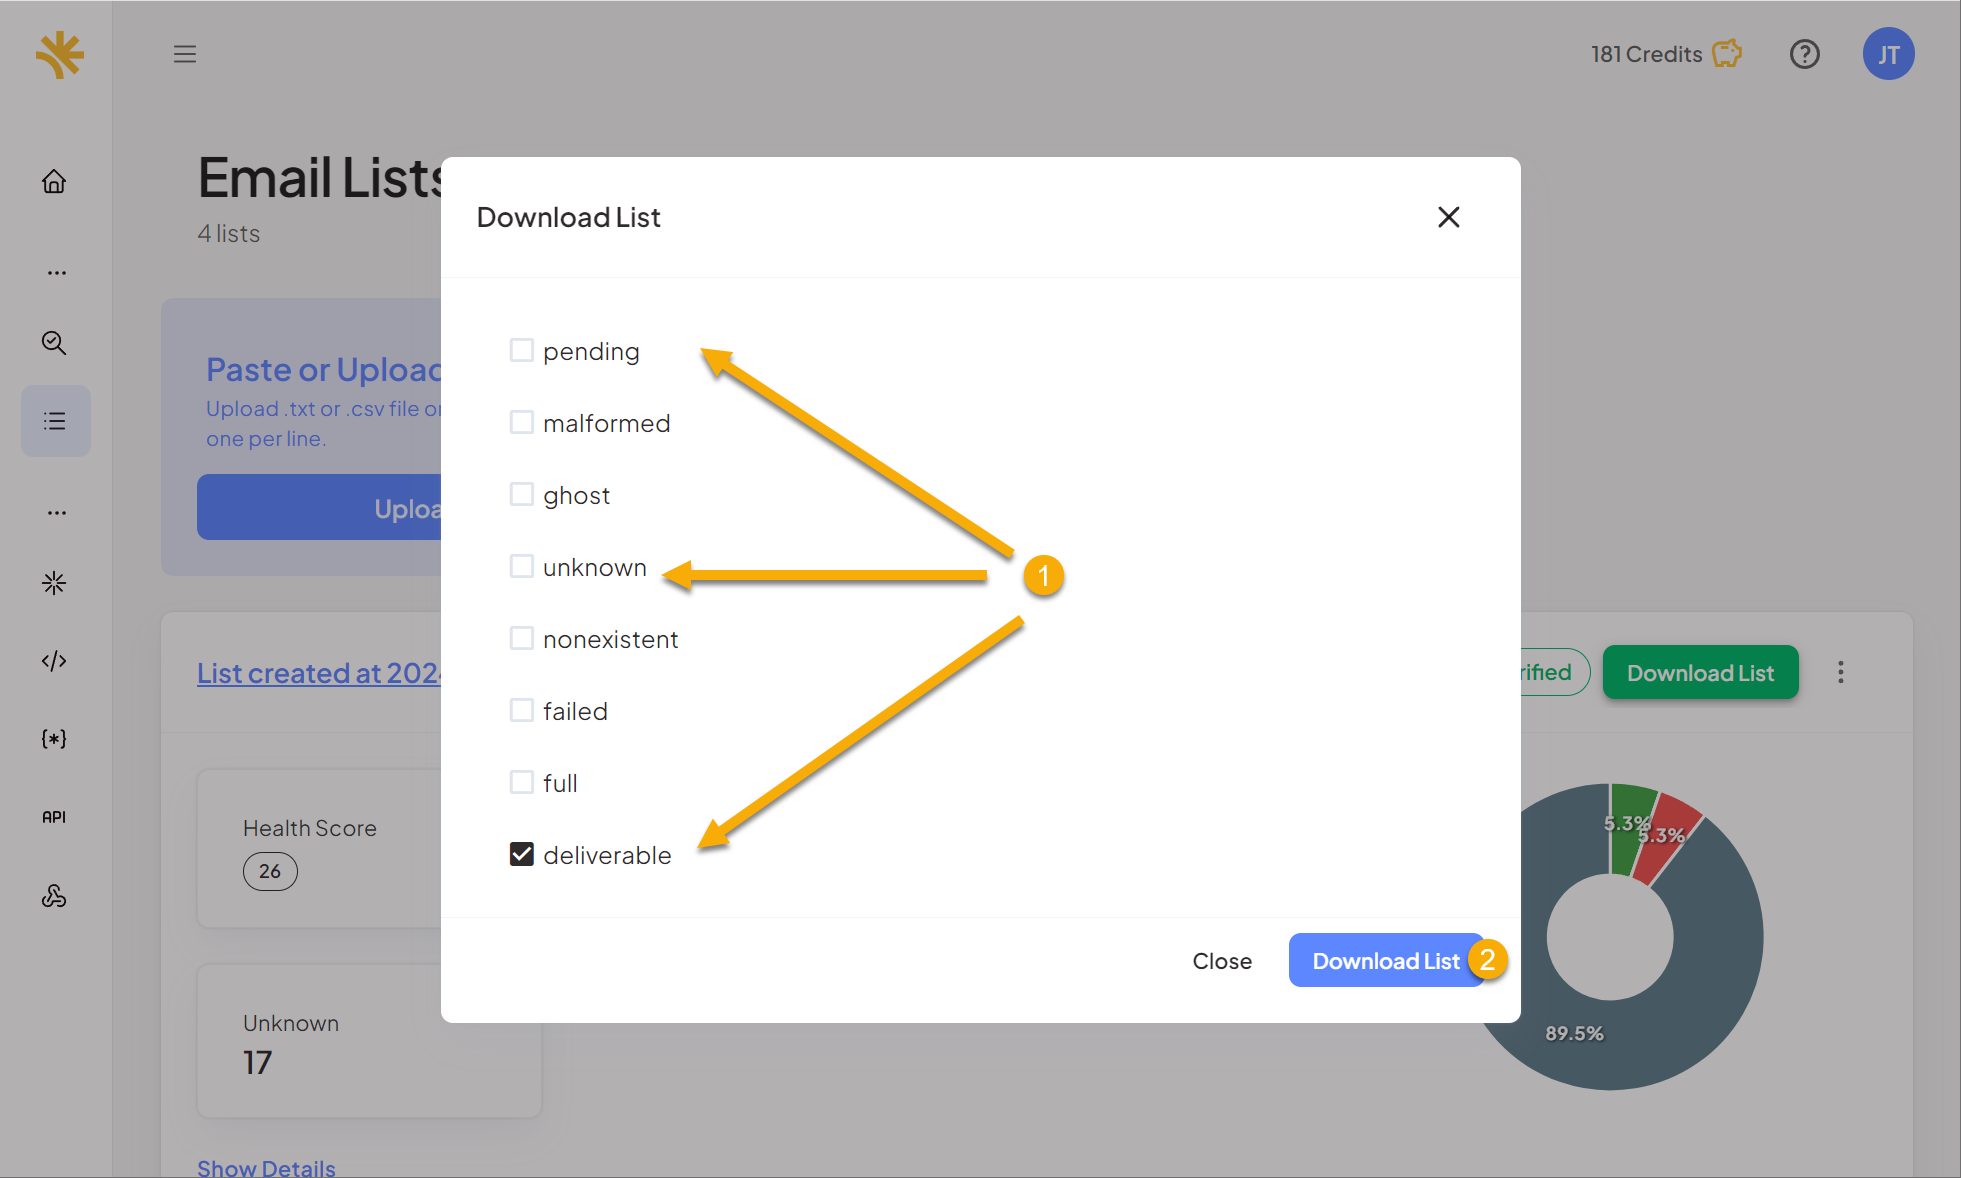
- The Download List dialog appears. Choose which addresses will be downloaded by selecting the checkbox next to each status. For example, if you leave only the Deliverable checkbox selected and all other status checkboxes are cleared, the downloaded list will only include deliverable addresses.
- Click Download List to initiate the download. A confirmation dialog appears to let you know that the list will be emailed to you soon. For more information, please see Downloading a List of Email Addresses.


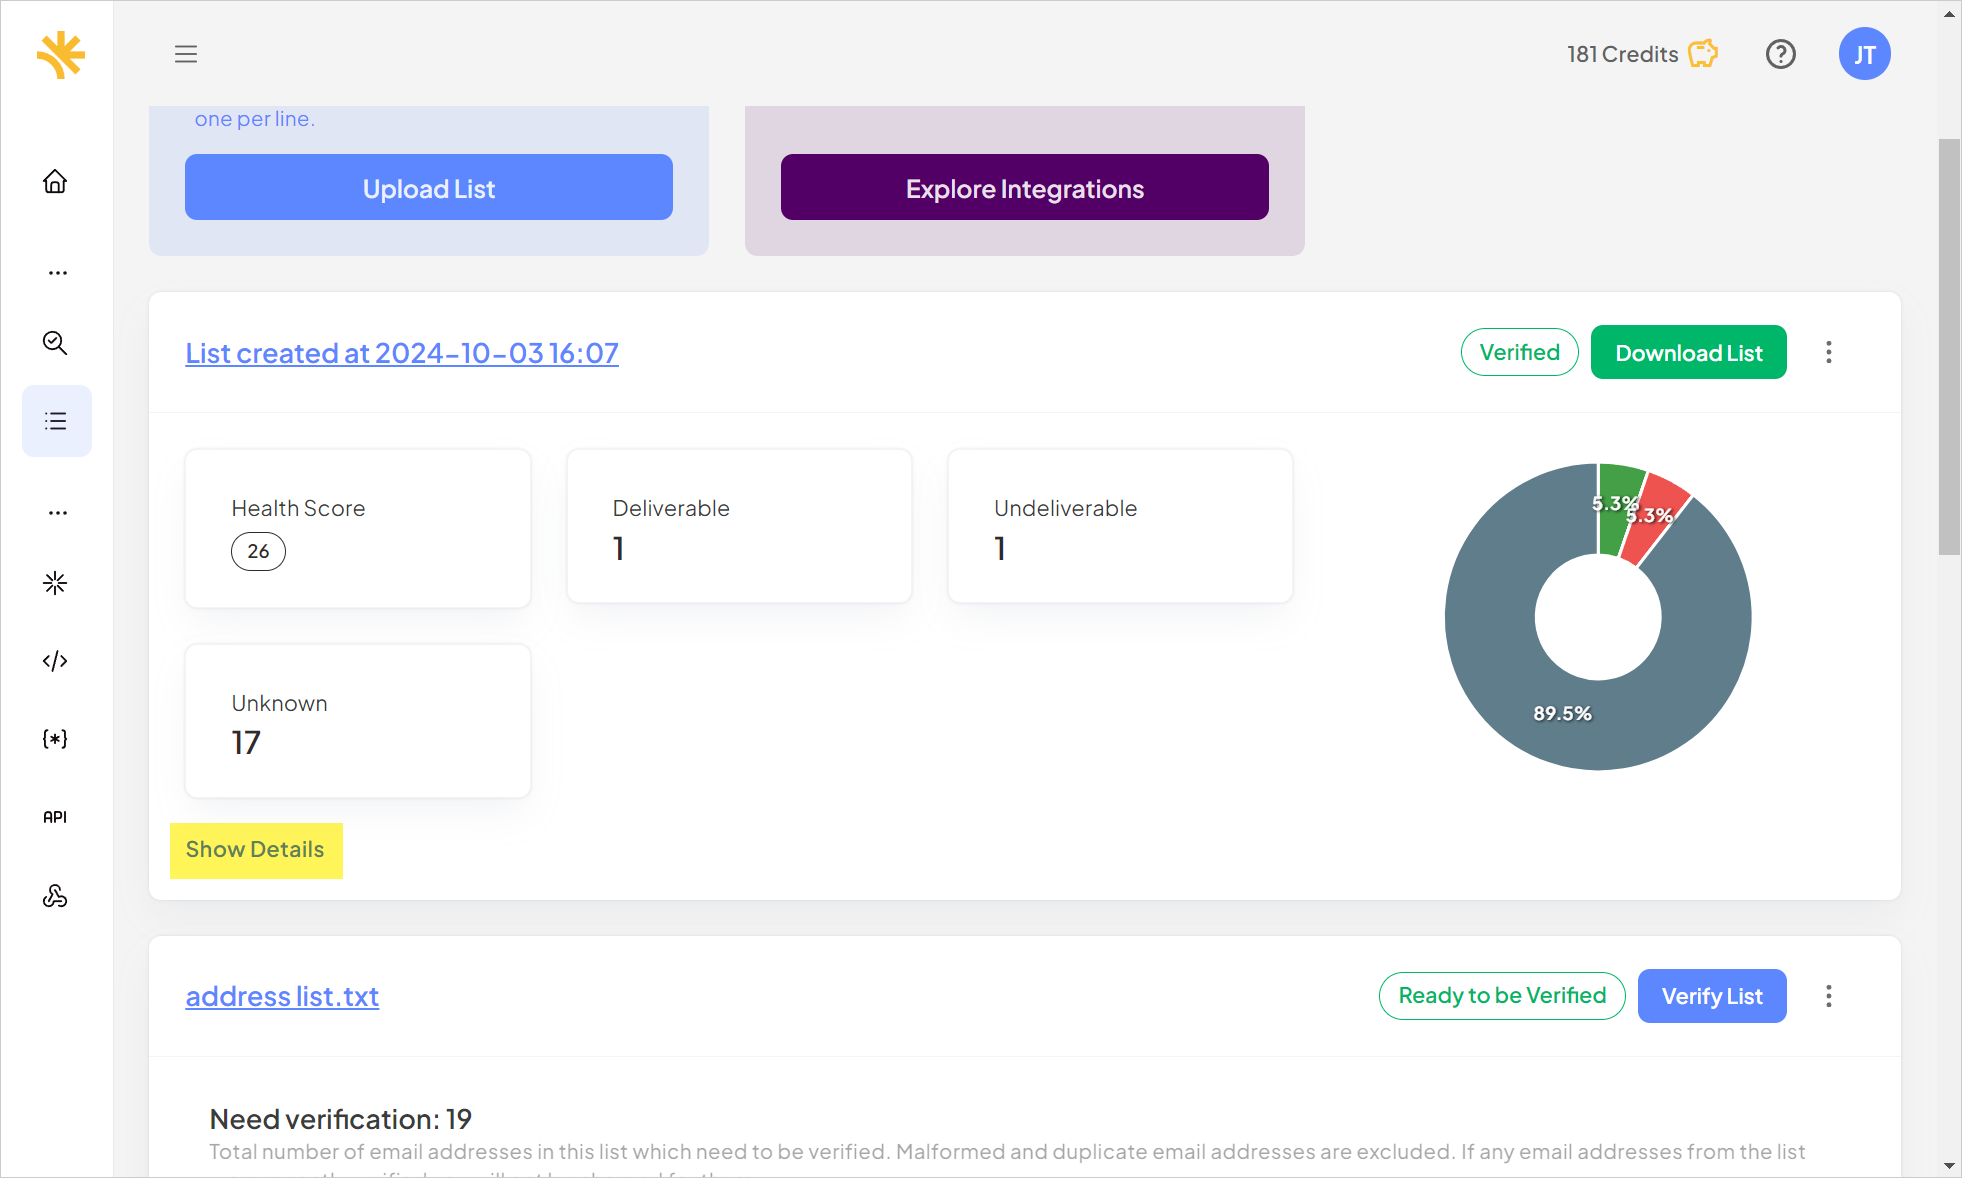
Detailed information about the list appears. For more information about each of the statuses shown here, please see Verification Results.


Working with Email Lists
Clicking the triple dot button at the upper right-hand corner of a list’s card lets you access additional options for the list. The options available in the menu will vary dynamically based on the status of the addresses in the list. For example, with a brand new list there is no Re-verify option since the list has not yet been verified.
For example, suppose you upload a list containing the address support@verified.email and verify the list. Subsequent verifications of that address within 24 hours will not use your credits, even if the address is in different lists. Even if you delete the only list containing support@verified.email and then include that address in a new list and verify it within 24 hours, VerifiedEmail will not use your credits to verify that specific address a second time.
However, the number of credits required to verify a list is initially based on the total number of addresses in the list, including previously verified and unknown addresses. When you initiate verification, VerifiedEmail will lock the corresponding number of credits, reducing your total available credits. After verification, credits that were not used due to previously verified and “unknown” addresses will be unlocked and become available again automatically.
For more information about available credits, please see Credits and Packages.
The following options may appear in the drop-down menu:
- Append - Click this if you need to add additional email addresses to an existing list. The Upload List dialog appears. Please see Uploading a List and Pasting in a List, earlier in this article, for more information.
- Delete List - This will permanently delete the list. A confirmation dialog appears to confirm that you want to delete the list; click Confirm to proceed.
- Re-verify List - This triggers verification of all addresses in the list. The Verify List dialog appears (see below).
- Verify unknown email addresses - This triggers verification of only those addresses in the list that were previously unknown (if any). The Verify List dialog appears (see below).
- Verify unverified email addresses - This triggers verification of only those addresses in a list that have not yet been verified (e.g., if you previously stopped the verification while it was still processing).
When you click any of the preceding three menu options, the Verify List dialog appears. Please see Verifying an Email List, earlier in this article, for more information.
