Credits and Packages
With VerifiedEmail, pricing is simple. Each new address verification costs your account one credit. You can purchase packages of multiple credits at a time, based on your needs. Once you have saved a payment method in your VerifiedEmail account, you can purchase additional credits quickly and easily, without a complicated checkout process.
For example, suppose you upload a list containing the address support@verified.email and verify the list. Subsequent verifications of that address within 24 hours will not use your credits, even if the address is in different lists.
However, the number of credits required to verify a list is initially based on the total number of addresses in the list, including previously verified and unknown addresses. When you initiate verification, VerifiedEmail will lock the corresponding number of credits, reducing your total available credits. After verification, credits that were not used due to previously verified and “unknown” addresses will be unlocked and become available again automatically.
The number of credits available in your account appears at the upper right-hand corner of every page. You can click the piggy bank icon to manage your saved payment method and your credit purchases.
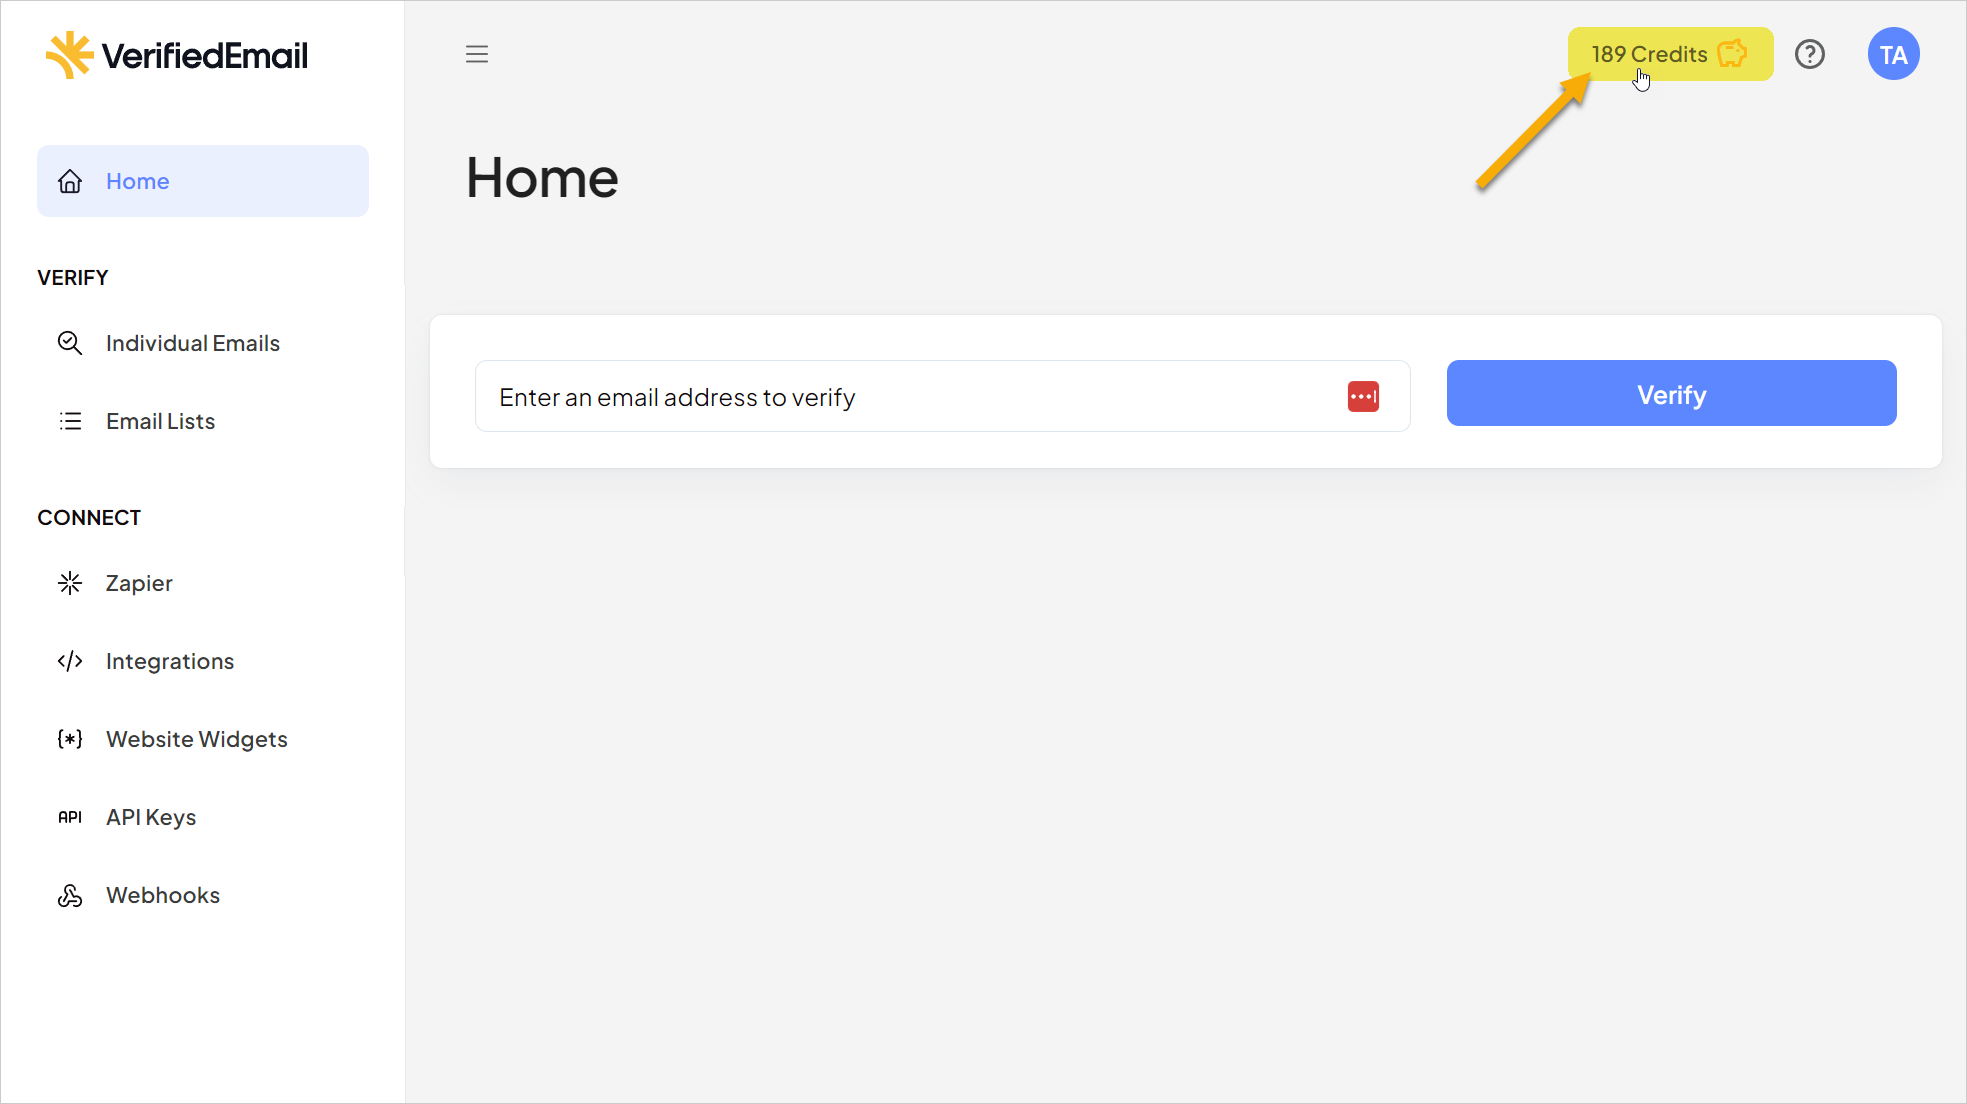
When you click the piggy bank icon, the Credits and Packages dialog appears.
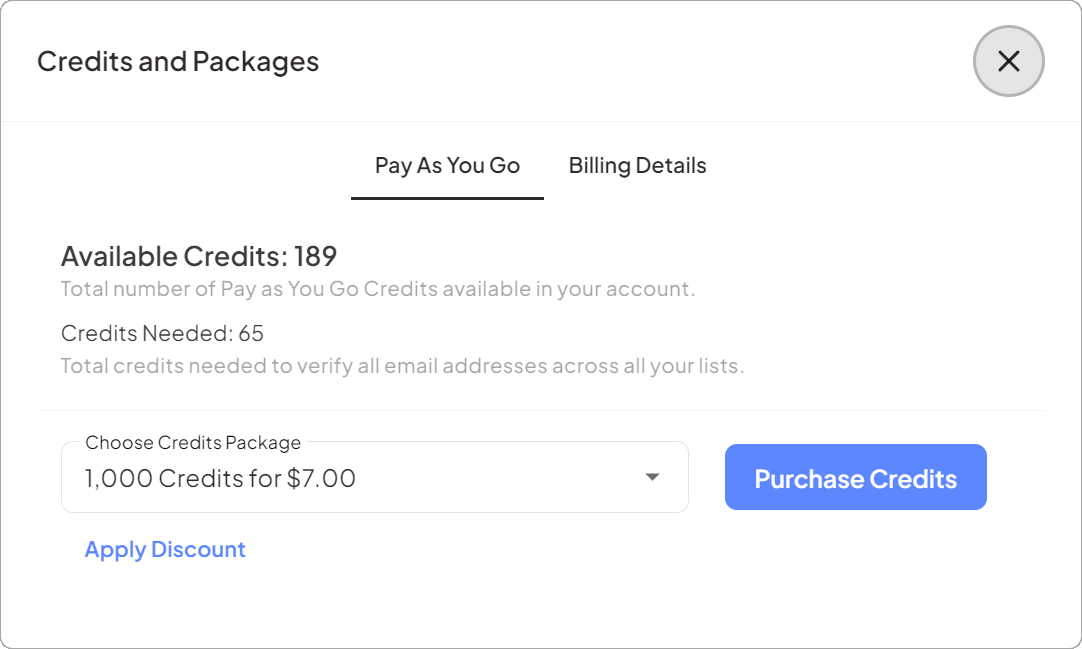
Available Credits
The Available Credits field shows the net number of Pay as You Go credits your account can use to verify email addresses. This is equal to the total number of credits you have purchased minus the total number of credits you have used.
For example, suppose you have the following account activity:
| Date | Activity | New Balance |
|---|---|---|
| October 3 | Purchase 1,000 Credits | 1,000 |
| October 3 | Verify 711 Email Addresses | 289 |
| October 5 | Purchase 3,000 Credits | 3,289 |
| October 6 | Verify 3,100 Email Addresses | 189 |
| Available Credits | 189 | |
In this example, the Available Credits would be 189.
Credits Needed
The Credits Needed field shows the total number of credits that would be needed to verify all of the unverified email addresses in all of your email lists. This makes it easy to see whether or not your account currently has enough available credits to verify all of the unverified addresses.
Adding a Payment Method
If you have not yet added a payment method to your VerifiedEmail account, you can do so at any time by clicking the Billing Details tab and then clicking Add payment method.
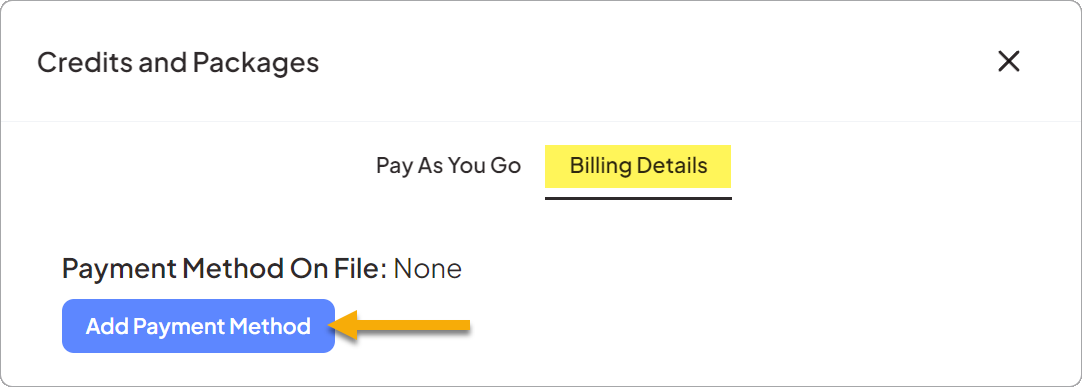
Alternatively, you can wait to add a payment method until you are ready to verify email addresses for the first time. If you verify individual addresses or verify an email list on the VerifiedEmail website, you can add a payment method seamlessly as part of the verification process.
The first dialog asks you to confirm your email address and country, and enter your ZIP/postal code. Click Continue when you are ready.

On the next page, log in using your PayPal® or Google Pay® account, or enter your credit card details and then click Save card.
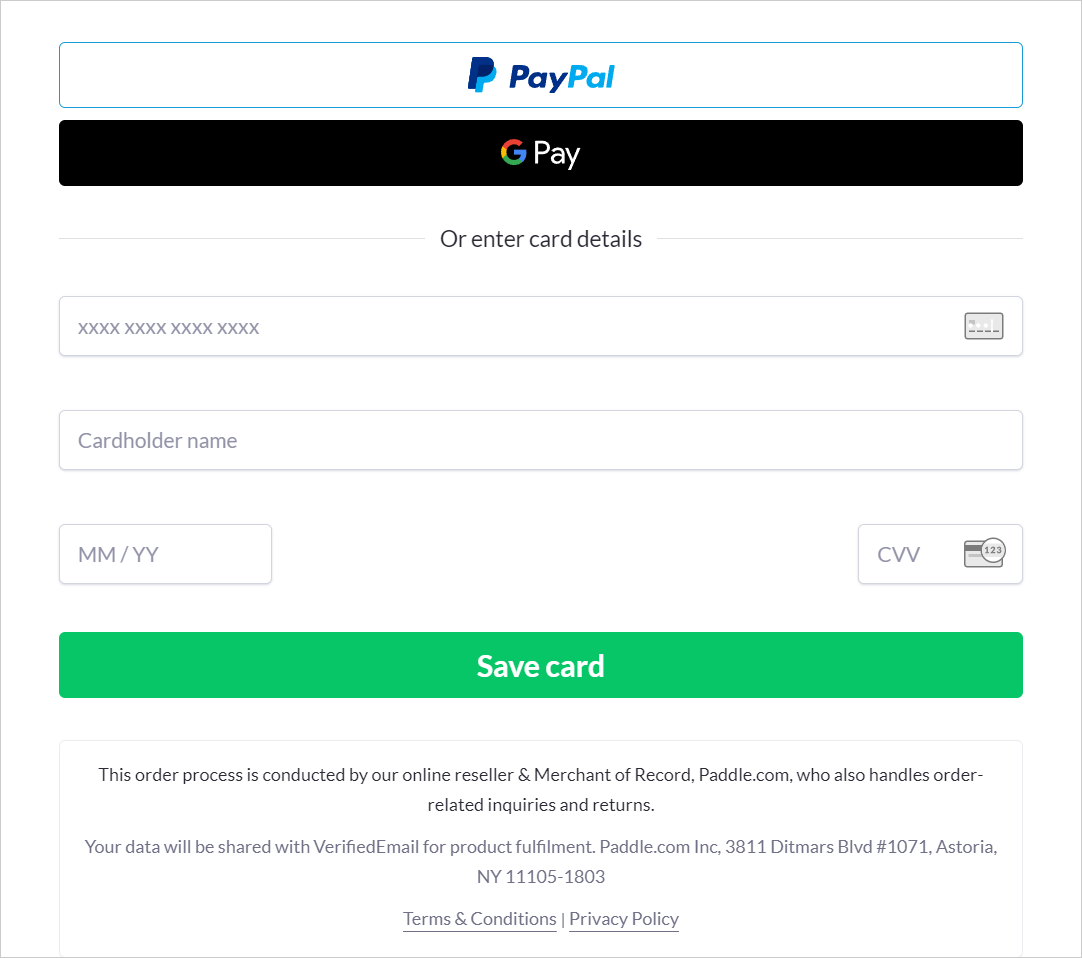
VerifiedEmail’s payment processor validates your payment account and then the Billing Details tab reappears. Your payment method is ready to use.

Purchasing a Credits Package
On the Pay as You Go tab of the Credits and Packages dialog, click the drop-down field labeled Choose Credits Package and select the desired credits package.
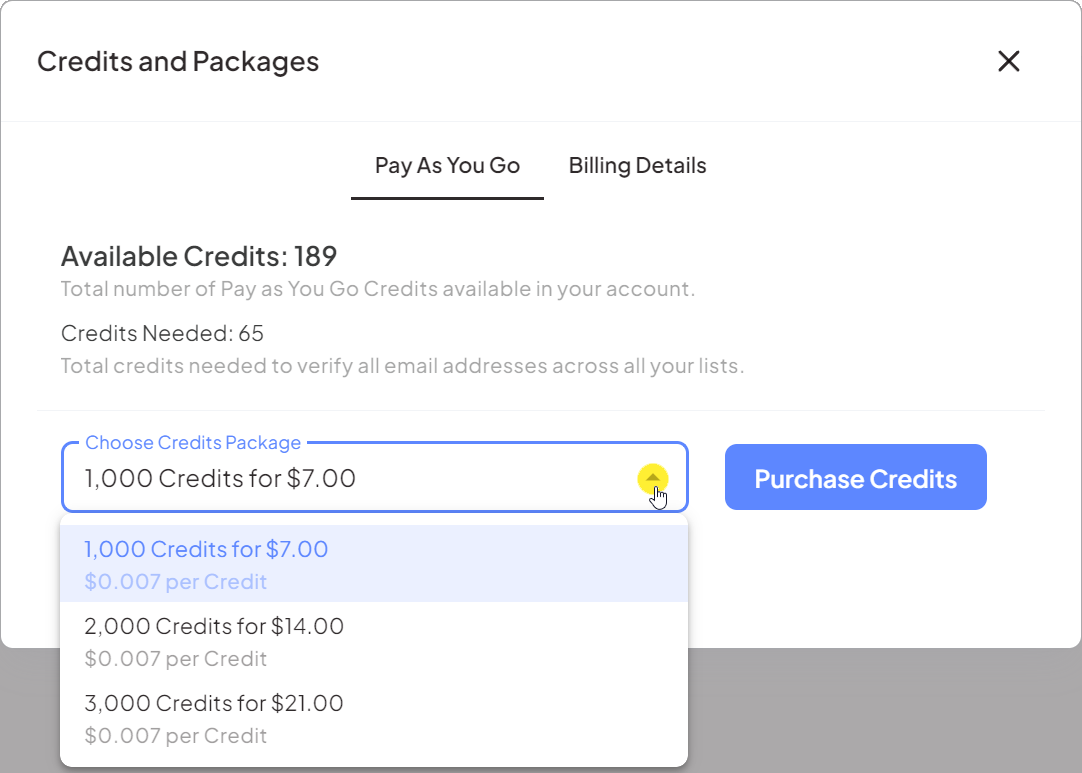
Then, click Purchase Credits.
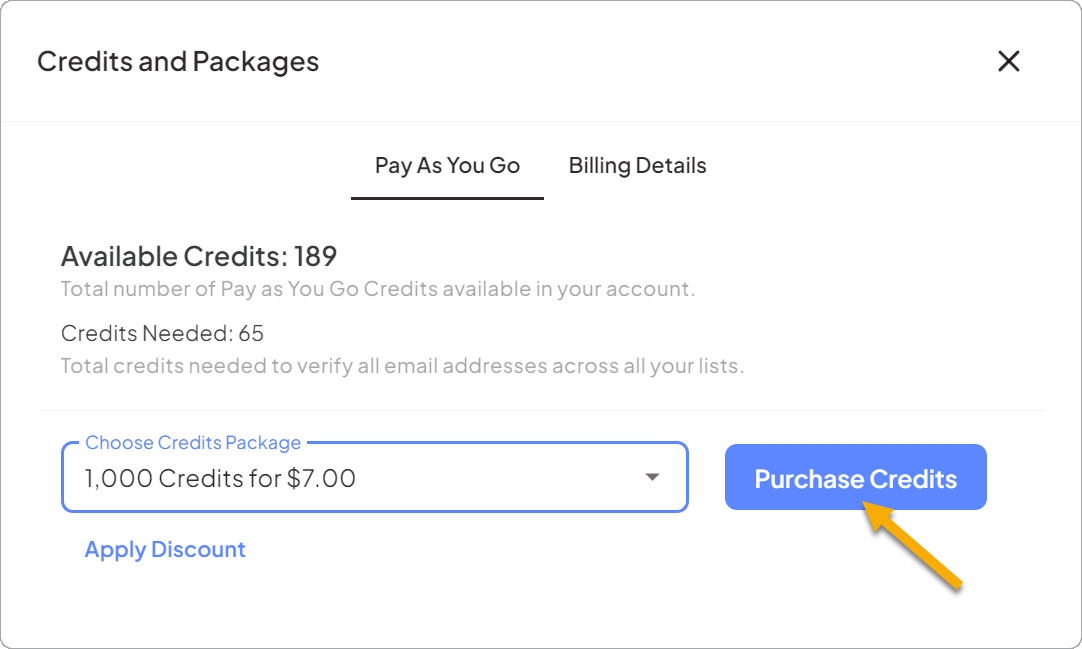
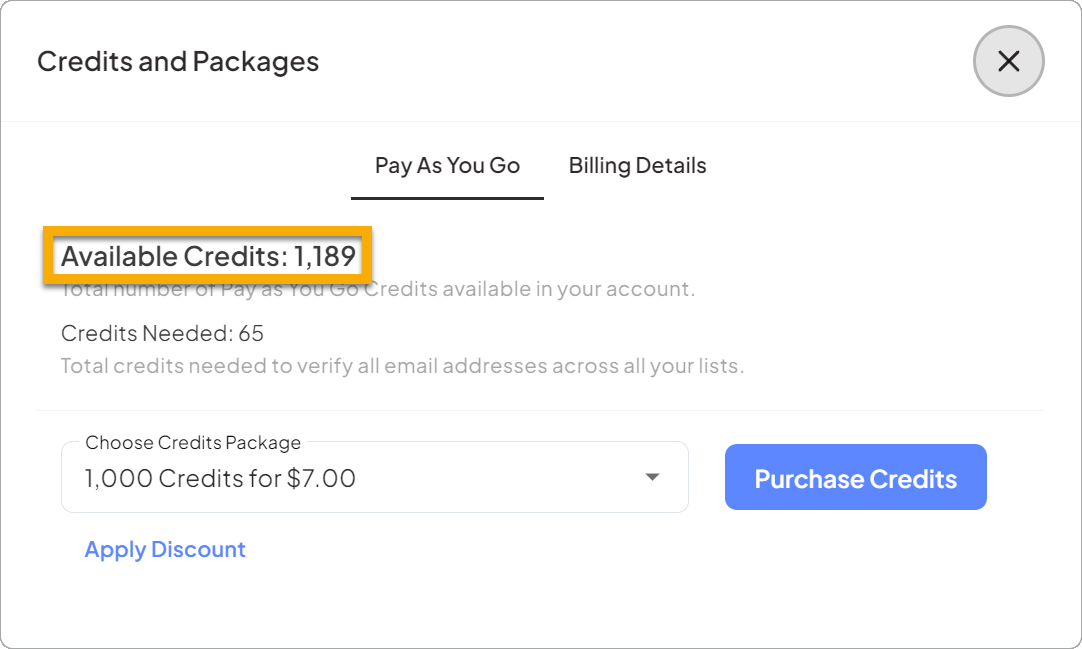
Your saved payment method is automatically charged and the credits are added to your VerifiedEmail account.
On the Account Settings page, you can optionally choose to receive a Billing Notifications; that is, an email message each time VerifiedEmail charges your payment method for additional credits. This may be especially useful if you use Zapier, a marketing tool integration, a website widget, or VerifiedEmail’s API to verify email addresses automatically outside of the VerifiedEmail website.
Updating or Deleting a Payment Method
If you have already added a payment method to your VerifiedEmail account, you can update or replace it by clicking the Billing Details tab and then clicking Update Payment Method.

The payment method details dialog appears; log in using the new PayPal® or Google Pay® account, or enter the details of the new payment card and then click Save.

If you want to delete your saved payment method without updating or replacing it, click Delete Saved Payment Method on the Billing Details tab.

VerifiedEmail immediately deletes the payment method details and the Payment Method On File field changes to None.

Keep in mind that if you delete your saved payment method, VerifiedEmail will not be able to automatically process purchases for additional credits. If you have Zapier integrations, marketing tool integrations, website widgets, or API implementations, these will stop verifying email addresses when your account runs out of credits.

