It’s a score that reflects how trustworthy your email domain or IP appears to mailbox providers. A strong reputation helps your emails reach the inbox, while a poor one can push them into spam.
How To Check Email Sender Reputation In 2026
Your email sender reputation serves as your digital credit score, determining whether your message ends up in the recipient’s inbox or their spam folder. Read on to discover the methods for checking your score, the factors that influence your rating, and strategies for maintaining good standing with Internet and email service providers.Updated on January 16, 2026
What is Email Sender Reputation, and Why Does It Matter
Do you know that ISPs and ESPs assign you a score each time you send emails? This invisible rating is your email sender reputation. It’s similar to a person's credit score and determines your trustworthiness as an email sender.
In Mailjet's 2025 report, 78.5% of respondents consider email deliverability highly important, rating it eight out of 10 or higher. However, 70% don't monitor their email reputation. This figure may explain why the average global deliverability rate dipped year-on-year to 83.5% from 84.8%, according to Validity's 2025 report.
What Affects Sender Reputation, and How It Works
In email marketing, the reputation score of a sender has become more critical than ever since stricter authentication and spam filters dented ROI in 2021. Moreover, an EBSCO study revealed that AI has improved spam detection by as much as 38%. Its advanced analysis goes beyond keywords to include an entire email's tone and context, real-time interactions, and deviations from normal patterns.
When your email reaches your recipient's ISP, the latter evaluates your message according to the metrics below:
- Engagement metrics: how recipients act on your past emails (open rates, click-through rates, and unsubscribe rates).
- Spam complaints: the number of recipients who have marked your messages as spam.
- Bounce rate: the number of failed email deliveries.
- Spam traps: email addresses that providers and blacklist organizations set up to identify spammy senders; they could come from email list vendors who scrape the web without consent; they can get blacklisted if you send a message to a spam trap.
- Blacklists: databases of domains blocked from sending emails due to spam activities.
- Authentication protocols: refer to SPF, DKIM, and DMARC, verify a sender’s identity and validate an email’s integrity (see our guide on preventing emails from going to spam for more details); prevent email spoofing or impersonation.
- Sending patterns: frequency and volume, as well as the age of your domain or email address.
📌 Note: A sudden spike in the number of sent emails within a short timeframe can be perceived as spamming. Practice domain warming (gradual increase in email volume) to establish a positive sending history, especially when sending from a new IP or domain.
How to Check Your Sender Reputation
Now that you know what contributes to your trust score, it's time to know how to measure it. We recommend using the tools below to see how ESPs see your IP and domain performance:
1. SenderScore by Validity
SenderScore assigns a sender score between 0 and 100 based on the IP or domain you type in the search bar. Scores above 80 are “good,” 70 to 80 are “fair” and need improvement, and below 70 are “risky”.
Its scoring criteria include: spam rate (% of your emails delivered to spam), spam complaints (number of recipients reporting your emails as spam), number of spam traps your IP address hit in the past week, fluctuations in send volume, number of unknown users, authentication, and blocklist inclusion.
2. Google Postmaster Tools
Google Postmaster Tools features a four-level scale for assessing IP and domain reputation:
- High (very low spam rate, address is rarely marked by Gmail as spam);
- Medium (occasionally sends spam, fair deliverability rate);
- Low (sends significant volume of spam regularly);
- Bad (emails are almost always marked as spam or rejected by the receiving server).
The other metrics it uses include authentication, encryption, spam rate (% of emails manually marked as spam), and feedback loop (explicit user-reported spam complaints).
3. Talos Intelligence by Cisco
When you enter your IP address on the Talos Intelligence Center page, the tool categorizes your account from -10 (worst) to +10 (best). Here’s a summary of its reputation scale:
- Good: Indicates zero to little threat activity; email traffic is unlikely to be blocked or filtered.
- Neutral: Activity is within "acceptable parameters"; however, email traffic may be blocked or filtered.
- Poor: Shows a problematic level of threat activity; email traffic is likely to be blocked or filtered.
Talos attributes poor sender reputation to these "common reasons": spam reports, misconfigured DNS, and emails with links to malware-hosting domains.
4. Spamhaus Lookup
Like Talos, Spamhaus is another website to use for email reputation checks, particularly if your rating declines significantly on SenderScore. This non-profit manages several blocklists of spam sources, which ESPs use to filter inbound mail.
Go to its reputation checker page to verify if your email account has been included in any of Spamhaus's lists. After entering your domain name or IP address into the search bar, the tool immediately displays your account's status ("is listed" or "is not listed”) on a blocklist.
How to Improve and Maintain a Good Sender Reputation
Don't wait for a spam or blacklist report before deciding to strengthen your email sender reputation. Stay proactive and apply the industry best practices below:
1. Authenticate your emails properly
Implement your SPF, DKIM, and DMARC authentication methods. Web hosting platforms or ESPs typically provide built-in setup tools. You may also try third-party solutions, which use in-app wizards to guide you through the process.
2. Clean your contacts list regularly
Scheduling list cleaning or deleting inactive, invalid, or even risky addresses is part of email list hygiene. Sync your customer relationship management system with address validation tools such as VerifiedEmail to screen new subscribers in real-time or as new data enters your CRM.
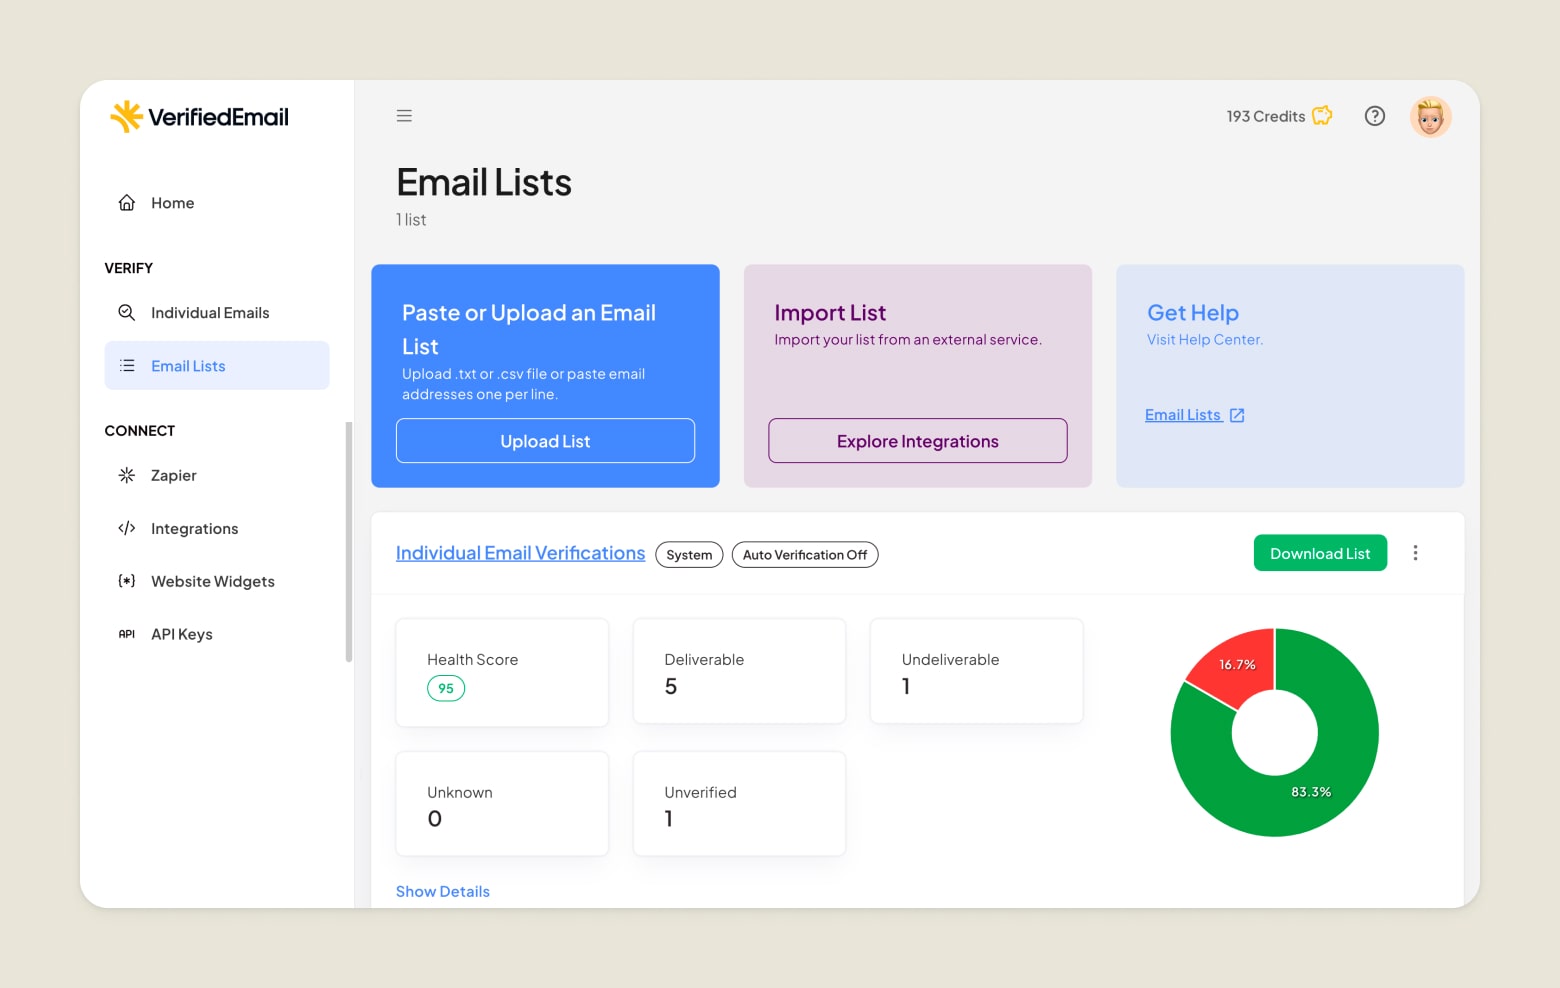
The results it generates—such as deliverable, catch-all, or undeliverable—indicate the status of each address and contribute to the overall health score of your email list.
3. Warm up new domains and IPs
Start sending in smaller email batches, beginning with your recent opt-ins and most engaged subscribers. Follow a regular and consistent schedule to establish a predictable pattern with ESPs and ISPs. Then slowly increase volume daily (10% to 20%) or weekly (20% to 100%) over four to eight weeks.
4. Track engagement trends
Regularly monitor your performance metrics, such as bounce rates, click-through rates, open rates, and spam complaints.
5. Maintain consistent volume and cadence
Once your reputation is stable, ensure that your frequency and batch size stay predictable. Avoid long gaps and sporadic large bursts to prevent triggering spam filters, which can undo the trust you've built.
6. Steer clear of spam-triggering words and links
Focus on providing value to the recipient by keeping your copy concise and to the point. In particular, make your subject line clear and engaging.
Avoid clickbait or using sensationalized words that exaggerate or give incomplete information: "shocking truth," "this (x) can change your life forever."
Moreover, ESPs can suspect messages with excessive links as overly promotional or irrelevant commercial emails.
Recovering from a Bad Sender Reputation Score
Even if you conduct regular list cleaning and avoid spammy language, your emails may still land in spam or—worse—a blacklist. The lack of recipient consent, sudden list growth, poor engagement, and recipients marking you as spam can trigger blacklisting. Diagnosing early is key, followed by taking steps to rebuild trust.
1. Pause email sending
Stop sending emails from the affected email address to prevent further damage.
2. Perform an audit to identify the cause
Conduct an email risk assessment by reviewing the metrics of your past send-outs or campaigns. Look into the following:
- Contacts list: Any outdated or unverified addresses?
- Engagement drops: Low open or click-through rates in your most recent emails or campaigns?
- Spam complaints: Aim for below 0.1% (1 complaint per 1,000 emails)
- Bounce rate: Aim for below 5%
3. Fix authentication or list issues – correct DNS or remove invalid addresses
Verify your authentication, especially when you receive error messages such as this: "This mail is unauthenticated and has been blocked."
In Gmail, verify authentication by clicking the three-dot menu on the upper right corner of your email and selecting "Show original." When the header displays in the new window, the word "PASS" beside the SPF, DKIM, and DMARC fields means your email is authenticated.
At the same time, you can run your contacts list with tools such as VerifiedEmail to weed out invalid addresses. Also, delete recipients who haven't engaged with you in the past six months.
Check if your email is valid with VerifiedEmail
4. Contact your ISP administrator or the blacklist provider
If you've resolved your deliverability issues but emails still bounce or you receive error messages, write your postmaster, report the fixes you made, and request a review.
If you're blacklisted, contact the blacklist organization and follow their delisting procedure. Be patient as the waiting period varies.
5. Warm your IP/domain again
After getting delisted, warm up your email account anew. Start increasing your volume week by week as engagement rates improve.
6. Reassess metrics regularly to confirm recovery
Revisit your reputation checking tools to verify improvements. Also, routinely check your other performance indicators, particularly spam complaint rates and inbox ranking. Consistent positive signals across multiple platforms confirm that ESPs are gradually restoring your sender trust.
Build Long-Term Trust with Every Send
Acquiring a good sender reputation doesn't happen with just one or two emails. It takes careful action applied consistently over time, from authentication to scheduling and quality checks.
Regularly check email sender reputation and conduct email risk score assessments to avoid spam folders and get in front of more people who matter the most. The most effective tools include Sender Score, Google Postmaster Tools, Talos Intelligence, and Spamhaus. Each offers insights into your domain and IP reputation. Send only to valid, engaged subscribers, authenticate your domain (SPF, DKIM, DMARC), and avoid sudden spikes in sending volume. Regularly clean your email list and monitor performance metrics like bounce and complaint rates. Engagement rates, spam complaints, bounce rates, email authentication, and consistent sending behavior all play a role. Internet service providers use these signals to decide whether to trust your emails. First, identify which blocklist you’re on using a blacklist checker. Then fix the underlying issue, such as high bounce rates, spam complaints, or sending to invalid addresses. Once resolved, request removal through the blocklist’s delisting process and monitor your reputation closely before resuming full sending. It's recommended to check your sender reputation at least monthly. For high-volume senders, weekly monitoring can identify problems sooner. FAQs
Clean your email lists today.
Verify 200 emails for free. For lists over one-million emails, we will beat the price of any competitor, guaranteed.